

 Commando
 Death’s Knell
 Raven
Raven Spider
 Hunchback
 Blackjack
 Centurion
 Yen-Lo-Wang
 Cataphract
 Ilya Muromets
 Jagermech
 Firebrand
 Quickdraw
 Atlas
Atlas Awesome
 Pretty Baby
 Battlemaster
 Highlander
 Stalker
 Misery
 Ballistic Weapons
 Lasers and PPCs
 Short Range Missiles
 Long Range Missiles
-
Do You Play other Games, too?
1 Aug 2014
-
The Best Shadowhawk 2D2 Brawler
13 Nov 2013

-
Competetive Spider 5D Build
7 Nov 2013

-
Shadowhawk 2H (P) Damage Dealer
23 Oct 2013
Shadowhawk 2H (P) Damage Dealer
Shadowhawk 2H (Project Phoenix Hero Mech) Juggernaut/Brawler Build
![]()
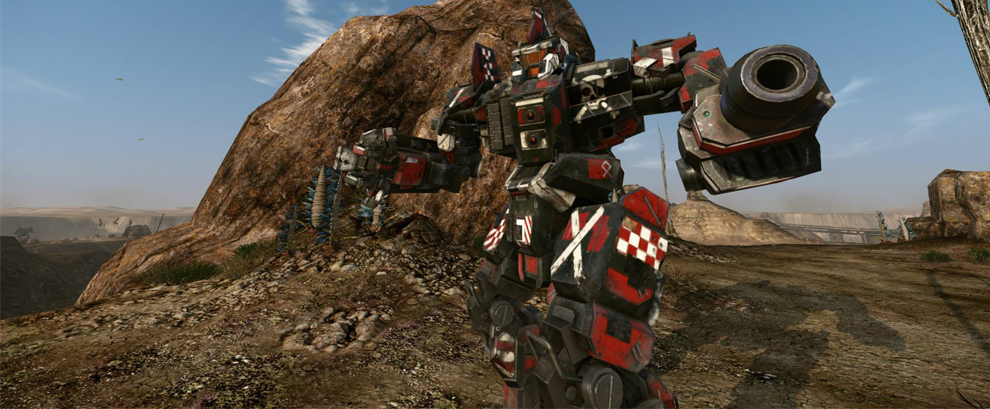
It seems that, in terms of actual combat effectiveness, the Shadowhawk is pulling ahead of the other Project Phoenix Mechs. This might change over time, as more and more builds are being figured out. However, at the moment Shadowhawks are destroying PUG matches on a regular basis. The Shadowhawk is the Project Phoenix’s Medium Mech weighing 55 tons. It has multiple hardpoints for every weapon type making it a very versatile Mech. Add Jump Jets to the mix, and you got a deadly and agile ninja, pacing around the battlefield, dishing out sick damage numbers. The damage is usually so high that a skilled Shadowhawk pilot with the right build must not fear a comparison with other Heavy and Assault pilots! This post will provide you with a rough outline of an allrounder build for the Shadowhawk 2H, the Project Phoenix Hero Mech variant.
![]()
Pay close attention to the armor distribution and emulate it to the point. Once you have some experience with the build you might want to adjust a couple points to your liking, but this allocation is already very polished and prooved its worthiness in a lot of battles. If you don’t have the engine lying around, you can also make this build work using an XL-300 (drop one UltraAC/5 ammo and increase armor on legs and left arm).
![]()
- Use your right arm as a shield. If you have incoming damage (especially ballistics or missiles of any kind), turn your upper torso quickly. Your shield arm has no armor on it, but it will still reduce the incoming damage greatly.
- At the beginning of matches and during long range stand-offs, use your UltraAC/5 to harass over great distances. It will wear down your opponent and, more importantly, scare him into cover.
- Your ER Large Laser should be constantly firing. Whenever you see a target popping up somewhere: shoot it! This will amount to high damage numbers at the end of the round and is very easy to do.
- The ammo distribution in this load-out puts a clear emphasis on extended use of the UltraAC/5. If you find yourself running out of StreakSRM2 ammo multiple times, exchange one ton of ballistics ammo for a second ton of StreakSRM2 ammo.
- This build is not considered to be an effective brawler. If you are entangled in close quarter fights, move a bit further away. Do not stop, do not engage. Keep firing your ER Large Laser and StreakSRM2s and get the hell out. You can dish out insane amounts of damage, but you can not take a lot.
- Weapon grouping advice: 1) UltraAC/5 2) ER Large Laser 3) Both StreakSRM2s 4) All weapons (optional)
- For modules use any combination of the following (in order of usefulness for random public games): Adv Seismic Sensor, Adv Sensor Range, Cool Shot 9 by 9, Faster Target Info Gathering, Artillery Strike.
Get Connected!
If you know of an excellent build, resource, or guide, submit it and maybe it will be featured on mwo-builds.net and seen by thousands of players. You can submit builds by sending us an e-mail, post it in the official looking-for-builds thread, or send us a private message via the official forums. You can also submit guides and builds via Facebook or Twitter (see below). Join hundreds of other Mechwarrior enthusiasts and like us on Facebook and follow us on Twitter. Receive the latest guides and the best MWO builds directly to your favourite social platform!| Follow @mwobuildsnet |


 Devastator Build")
")
Get Connected!