 Commando
 Death’s Knell
 Raven
Raven Spider
 Hunchback
 Blackjack
 Centurion
 Yen-Lo-Wang
 Cataphract
 Ilya Muromets
 Jagermech
 Firebrand
 Quickdraw
 Atlas
Atlas Awesome
 Pretty Baby
 Battlemaster
 Highlander
 Stalker
 Misery
 Ballistic Weapons
 Lasers and PPCs
 Short Range Missiles
 Long Range Missiles
-
Do You Play other Games, too?
1 Aug 2014
-
The Best Shadowhawk 2D2 Brawler
13 Nov 2013
-
Competetive Spider 5D Build
7 Nov 2013

-
Shadowhawk 2H (P) Damage Dealer
23 Oct 2013
Hunchback 4G and 4H AC/20 Brawler
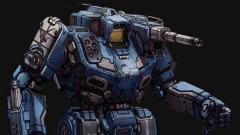
Hunchback 4G/4H AC/20 Working Brawler Guide
![]()
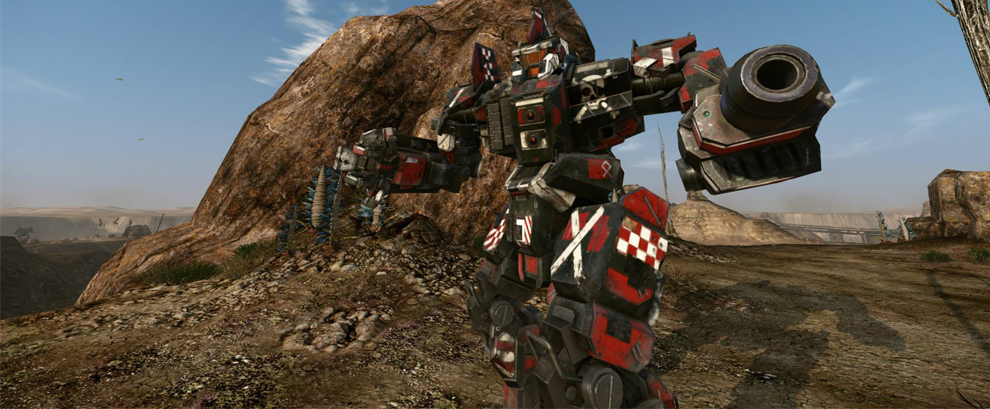
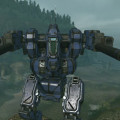
The Hunchback is a very cool chassis. However, many people don’t like it (or struggle while playing), because the hunch, the Hunchback’s signature side torso is such a vulnerable part. The hunch usually holds most of the important weapons and will always be focused down by enemies. This Hunchback brawler guide will show you how to make your hunch less vulnerable enabling a skilled pilot to dish out unseen amounts of damage. The build is centered around an AC/20 and is complemented by lasers. The Hunchback brawler load-out is brought to you by Reslin and was posted in the mwo-builds.net looking-for-builds thread in the official forums. Reslin also wrote a more in-depth guide about several Hunchback variants. Check them out and give him a thumbs up.
![]()
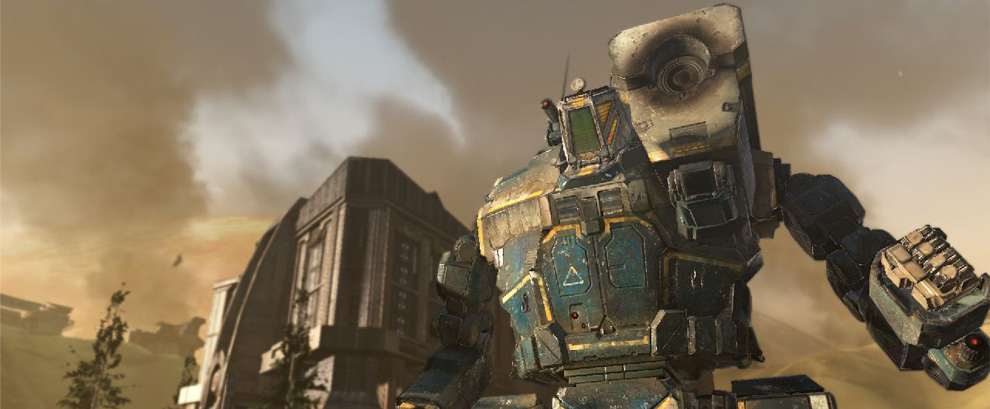
Because it is one of the most crucial things about this Hunchback brawler build, I want to point it out first: Pay close attention to the armor allocation on the builds! The hunch has only 2 rear armor and everything else on the front side. Such a distribution will greatly increase your effectiveness on the battlefield. The hunch’s rear torso will almost never get hit, thus, most points of armor should be at the front.
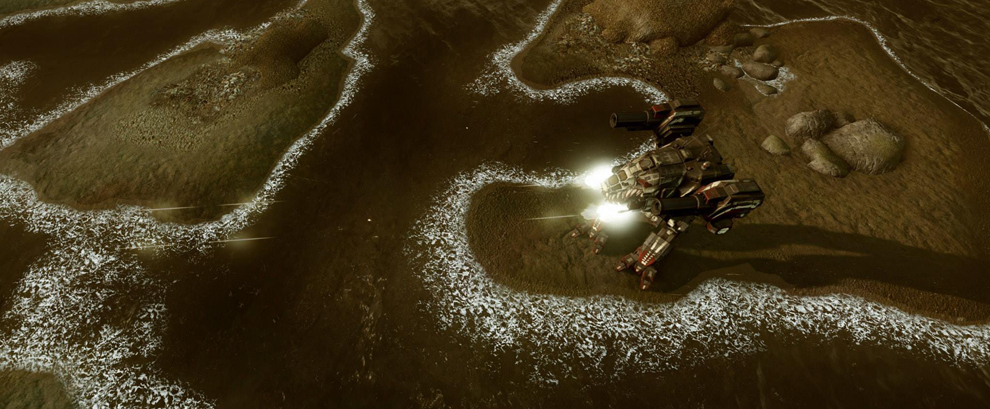
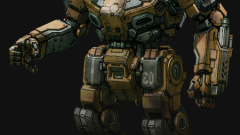
A similar load-out can be done with the HBK-4H, as well. This particular version of the Hunchback brawler build utilises the additional energy slots in the hunch. If you don’t like the reduced range of the small lasers, just go with the 4G build above. However, the small lasers increase the maximum possible alpha strike slightly.
![]()
- Pay close attention to the armor allocation on the load-outs. If you are off by only a few points, it will greatly diminish your survivability on the battlefield.
- Always stay in motion. If you stand still or overheat, you are toast.
- If you are eating damage and can’t easily return fire, turn your upper torso to protect it and head for cover.
- Your AC/20 is your main weapon. Try to always hit perfect shots on cooldown. If you are unsure that you can place your shot, don’t shoot.
- Try to focus all lasers on the same component to incapacitate and down enemies fast.
- Weapon grouping hints for first load-out: 1) AC/20 2) All Lasers.
- Weapon grouping hints for second load-out: 1) AC/20 2) All Medium Lasers 3) All Lasers.
- Do not use arm-lock with this build. It might help newer players to optimise pinpoint damage, but you are wasting a lot of the Hunchbacks’s excellent agility and run-by abilities.
![]()
The builds in this Hunchback guide were kindly provided by Reslin. He also wrote a more in-depth guide about the Hunchback chassis. Check it out and drop him a like.
Get Connected!
If you know of an excellent build, resource, or guide, submit it and maybe it will be featured on mwo-builds.net and seen by thousands of players. You can submit builds by sending us an e-mail, post it in the official looking-for-builds thread, or send us a private message via the official forums. You can also submit guides and builds via Facebook or Twitter (see below). Join hundreds of other Mechwarrior enthusiasts and like us on Facebook and follow us on Twitter. Receive the latest guides and the best MWO builds directly to your favourite social platform!| Follow @mwobuildsnet |


 Damage Dealer")
 Devastator Build")
Get Connected!