
large laser tagged posts
Competetive Spider SDR-5D (ECM)
![]()
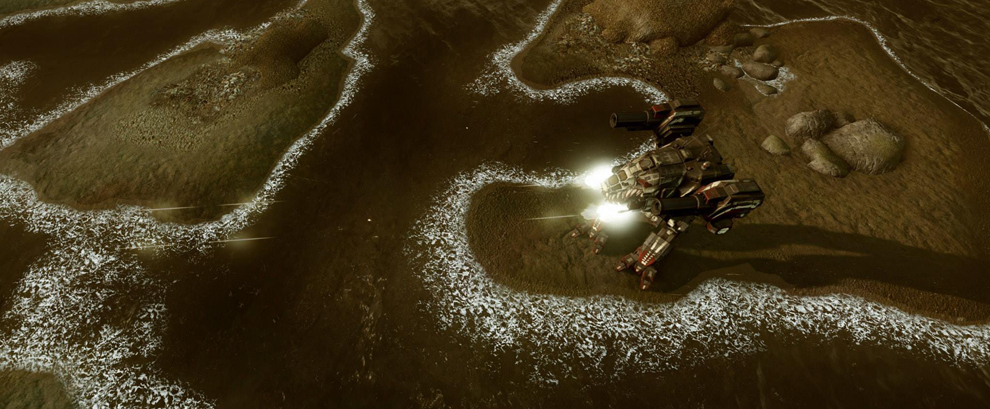
Spiders are very prominent Mechs in random matches and the competitive scene. Ever wanted to be that annoying bugger that zooms around the battlefield, shooting everyone, spotting everywhere while the enemy team is working their bottoms off to catch you? This is one of those Light Mech builds. A Spider 5D build (the variant with ECM) sporting lasers, AMS, ECM, and Jump Jets.
There are several types of Light Mech builds. The two most important broad categories are builds, which can kill other Light Mechs and the ones which are adjusted to fulfill other tasks. This Spider 5D build is one of the latter. You should avoid fights with other Light Mechs and instead support your team, for example, by harassing LRM boats, spotting, and providing ECM/AMS cover.
![]()
- Never stand still. Use your superior movement speed to not get hit. If you stand still you die.
- Never ever overheat. An overheated Light Mech will be destroyed instantly, and your team will flame you and they will be right to do so!
- Do not engage other Light Mechs. This build is not meant to fight other Light Mechs. Disengage and flee to your team’s other Mediums and Lights.
- Do not fire while turning with your keyboard. Instead, adjust your Mech first, then use your mouse to place precise shots.
- The above rules are absolute and without exceptions. Folllow them at all times, and you will be a great Light Mech pilot instead of just an average nuisance.
- Always soften your falls with Jump Jets in order to avoid unnecessary damage to your legs. A legged Light Mech is easy prey.
Get Connected!
If you know of an excellent build, resource, or guide, submit it and maybe it will be featured on mwo-builds.net and seen by thousands of players. You can submit builds by sending us an e-mail, post it in the official looking-for-builds thread, or send us a private message via the official forums. You can also submit guides and builds via Facebook or Twitter (see below). Join hundreds of other Mechwarrior enthusiasts and like us on Facebook and follow us on Twitter. Receive the latest guides and the best MWO builds directly to your favourite social platform!| Follow @mwobuildsnet |
Read More
Misery (Stalker Hero Mech) Sniper/Fire Support Hybrid Guide
![]()
In my long search for finding a good Misery all-round build, I suffered many setbacks. After consulting with several high-level players from the Hell’s Black Aces merc-corp, I finally developed a build which is worthy of this web page. A sniper/fire support hybrid build utilizing a pair of Large Lasers, a single ERPPC, and a Gauss Rifle. All of this while still being reasonably heat efficient and using a standard engine. The only downside, in comparison to other Stalker builds, is its relatively low movement speed. This guide will showcase several variations of the same build. Each build has a slightly different focus. Choose the one whichever suits your play-style and needs best.
The first version of the Misery sniper hybrid build trades leg armor and heat efficiency for more utility. ER Large Lasers replace the regular Large Lasers for additional range. The increased effective range will greatly improve your damage dealt values. ER Large Lasers also received a buff in the recent patch. The original version uses two tons of Gauss Rifle ammo. If you are engaged in drawn out fights (which is more likely since 12 vs 12 hit the servers), 20 shots will be expended very quickly. This version uses the additional space and tonnage to fit in a third ton of ammo. The addition of an AMS rounds the package. This version runs very hot, and you will most likely not be able to carry a cool-shot consumable since the Stalker chassis only allows for two module slots (which are most likely taken by Adv Seismic Sensor and Increased Sensor Range).
The following load-out reflects the original version of the build. It has a lesser range, fewer ammo, and no AMS. However, it runs significantly cooler, allowing a skilled pilot to continuously fire for a long time. This version is recommended for more experienced as it requires more skill to dish out the same amounts of damage of the course of a battle. However, it has the potential to be more deadly in the long run.
![]()
- Since you are not very fast and lack jump-jets, positioning is key. Only expose yourself from cover to fire one alpha strike. If enemies have spotted you and are returning fire, double back behind cover and find a different spot to peak out from.
- Weapon grouping advice: 1] Gauss Rifle + ERPPC 2] Both (ER) Large Lasers. Be sure to bind the Gauss Rifle and ERPPC to a single weapon group as well. There are situations when you’ll want to fire only one of them.
- Try to stay on target while firing the Large Lasers. If you manage to hit the same component for the majority of the duration, you will notice a significant increase in efficiency. Large Lasers do a lot of damage, but over a duration. Remember: Lasers in MWO are no light sabres!
- Enabling Arm-Lock is not recommended for this build. However, whenever you can, try to match both crosshairs before firing a sniper shoot (ERPPC + Gauss Rifle) for maximum pin-point damage.
- If you are running on high heat, get behind cover and cool down for a few seconds. If that is not possible, place one or two well aimed shots with your Gauss Rifle. Then finish the exposed target with an alpha strike.
![]()
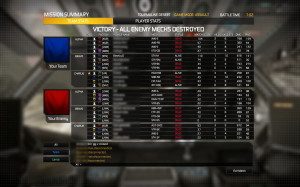
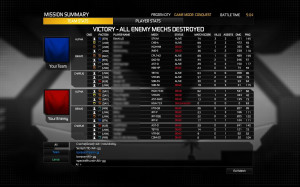
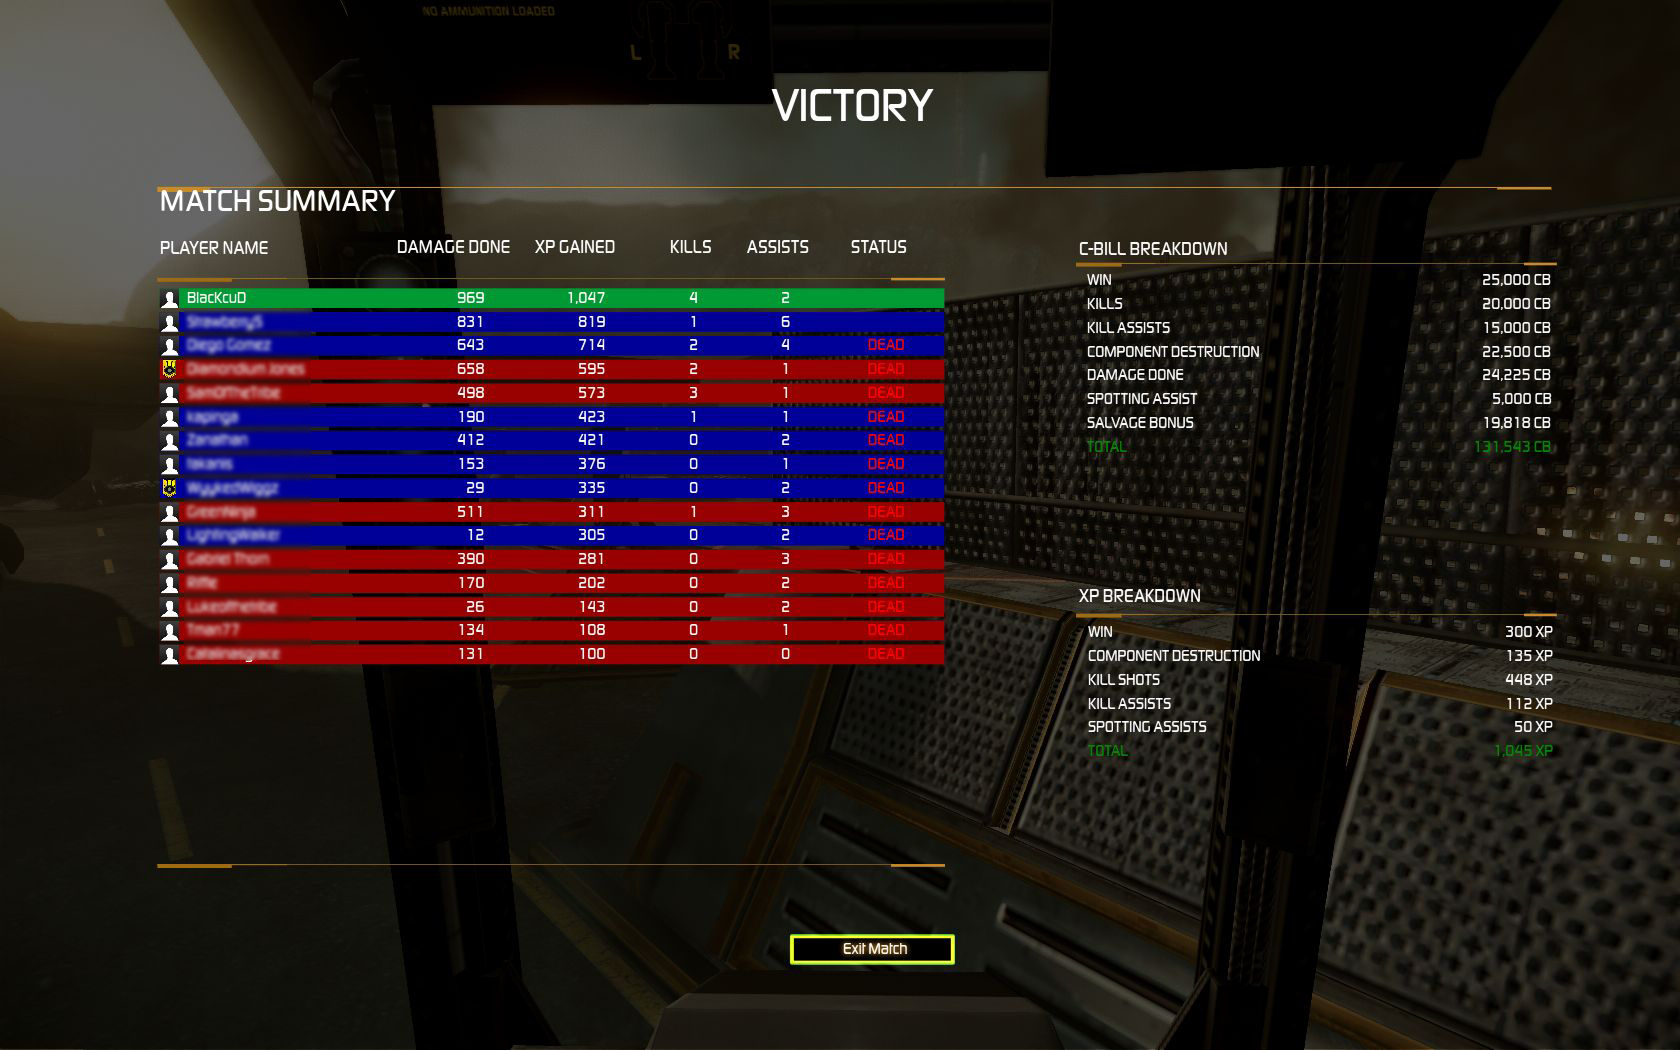
Here are some end-of-round screenshots. They are not the best, but I wanted to include some 12vs12 action!
Get Connected!
If you know of an excellent build, resource, or guide, submit it and maybe it will be featured on mwo-builds.net and seen by thousands of players. You can submit builds by sending us an e-mail, post it in the official looking-for-builds thread, or send us a private message via the official forums. You can also submit guides and builds via Facebook or Twitter (see below). Join hundreds of other Mechwarrior enthusiasts and like us on Facebook and follow us on Twitter. Receive the latest guides and the best MWO builds directly to your favourite social platform!| Follow @mwobuildsnet |
Read More
![]()
One of the most viewed build on this blog is the Atlas D-DC all-round brawler build by Strawberry5. He and myself have played this build countless times and have proven its worth in PUG games. Mechwarrior Online has evolved since then, and strategies have changed. This Atlas brawler build has been adjusted slightly to better fit 2013 meta-game requirements. If you don’t like PPCs and want to look really good on the score board (damage dealt, kills, match score, etc) give this build a try. You will not be disappointed.
If you need AMS in this Atlas build, try swapping it for the Beagle Active Probe. Do not remove ammunition in exchange for the AMS since it is already carrying the absolute minimum for extended fights.
In comparison to the old Atlas brawler build, the new version trades the AMS, ammunition and movement speed for range, a BAP and burst damage.
![]()
- Use the high max range of your double Ultra AC/5 to lay down suppressing fire and chip away at enemies during the first minutes of the match. Enemy LRM-boats and other long range builds will duck back behind cover, and potential future enemies will have their starting armor reduced.
- Fire your Ultra AC/5s by single clicking at all times (1.1sec). Restrain yourself from holding down the key as they will most likely jam very fast and your actual damage output will decline. Only gamble on your weapons not jamming when being faced with certain death.
- Keep in mind that your ECM will not protect you from LRM barrages while it is set to counter mode.
- Although you have a BAP, it might be useful to counter an enemy ECM at times. The default hotkey for switching ECM modes is J.
- If you are engaged in an all-out close quarters fight, do not overheat due to alpha striking all the time. It will mean certain death. Instead, refrain from using the lasers and keep using your missiles and ballistic weapons only.
![]()
Get Connected!
If you know of an excellent build, resource, or guide, submit it and maybe it will be featured on mwo-builds.net and seen by thousands of players. You can submit builds by sending us an e-mail, post it in the official looking-for-builds thread, or send us a private message via the official forums. You can also submit guides and builds via Facebook or Twitter (see below). Join hundreds of other Mechwarrior enthusiasts and like us on Facebook and follow us on Twitter. Receive the latest guides and the best MWO builds directly to your favourite social platform!| Follow @mwobuildsnet |
Read More

Please note: This guide may still be viable, but is very old.
You will probably find better ones or will need to tweak a few things. In addition, some or all meta game information and play style/hints may include outdated information. As soon as an updated version is available, it will be shown here. If you have up-to-date information on how to improve this build, please leave a comment below. Thank you.
I am happy to provide you with a final guide for the regular Cataphract variants. A guy named Wrench from the official forums was kind enough to allow me to use the guide here. Be sure to check out his profile and the original thread in the official forums to drop him a like and thumbs up. Enjoy:
![]()
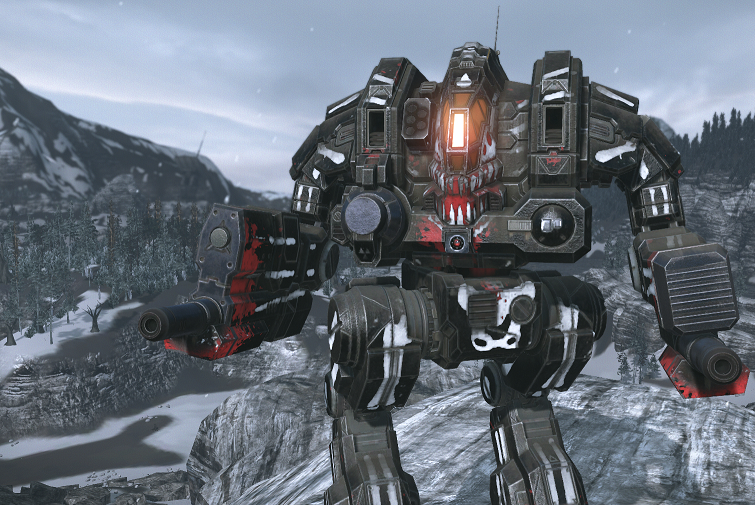
While The Gershom was successful, Nicholas was always irritated by its limitations. The mech shouldered the vulnerability of the XL engine, but still moved at a mediocre speed. This sluggishness made close range confrontations unpleasant when the fighting moved in, especially against highly manoeuvrable mechs. This was only compounded by the mech’s inability to quickly dissipate heat. Temperature ratings rested in acceptable tolerances when lobbing shells at range, perhaps with sporadic use of the MLAS. But frequent firing of all four MLAS in a brawl situation had a tendency to build an uncomfortable amount of heat.Still, with limited resources, it was hard to justify any changes on a successful – if imperfect – mech. The Gershom was ran as a powerful, but conventional heavy support unit for some time. But in a changing time of war, more flexibility is desired from a heavy chassis. Flush with an unexpected source of income, Reffin demanded a complete overhaul of some of his older configurations from his engineering team. First among these refits was a project to expand the tactical flexibility of the Gershom.
After much deliberation and several rejected designs, the Gershom was completely striped and rebuilt over a matter of weeks. While unpopular with some, the decision was made to actually reduce the armament on the mech, replacing the dual AC10s with a pair of UAC5s. The argument was made that despite the drop in single shot punch, the rapid firing rate of the combined UAC5s, provided it was properly managed, could bring the total destructive power of the cannons to near parity with the AC10s; and in some use-cases actually exceed them. This fire power could be maintain while projecting a more suppressive effect on the battlefield, laying down a threatening barrage of shells rather than the sporadic hammering of the AC10s. This was though to be more in line with the Gershom’s expanded role as a more active direct fire support unit.
The lighter and more space efficient cannons made way for the upgraded XL320 engine. Capable of moving the large Cataphract at the more impressive speed of 74kph, the engine was further augmented by an additional heatsink over the old design, helping to alleviate what minor heat issues the Gershom had without losing any of the four medium lasers.
However, the most extensive augmentation to the mech’s design was the rebuilding of the internal structural using the new weight efficient Endo-Steel technology and addition of 4 class-III jump jets. While bulky, the new lighter frame brought the mech just in line with the proper tonnage to thrust ratio needed to make the jets worth while.
While the Gershom will never exactly soar over the battlefield, the jump jets give the mech a decent amount of vertical and horizontal movement. This aerial mobility combined with the mech’s higher top speed allow for a much greater range of tactical options. Whether using the jets to reach a high vantage point to fire a storm of UAC5 rounds down on an enemy, to escape an unfavourable engagement, or to short-cut and overtake a fleeing enemy, the jump-jets are a constant surprise to the Gershom’s foes in the field.
The Gershom’s remaining limitations mostly centre around it’s shallow ammunition stores, 100 UAC5 rounds can be used up quickly in an engagement of even moderate length. The XL engine is a constant source of vexation and due concern in the broad chested Cataphract, requiring constant awareness of the mech’s torso condition.
![]()
- Cataphract CTF-3D
- XL Engine 320
- Maxed Armor
![]()
- 2x UltraAC/5 (4x ammo, best placed in legs)
- 4x Medium Laser
- 4x Jumpjets

Please note: This guide may still be viable, but is very old.
You will probably find better ones or will need to tweak a few things. In addition, some or all meta game information and play style/hints may include outdated information. As soon as an updated version is available, it will be shown here. If you have up-to-date information on how to improve this build, please leave a comment below. Thank you.
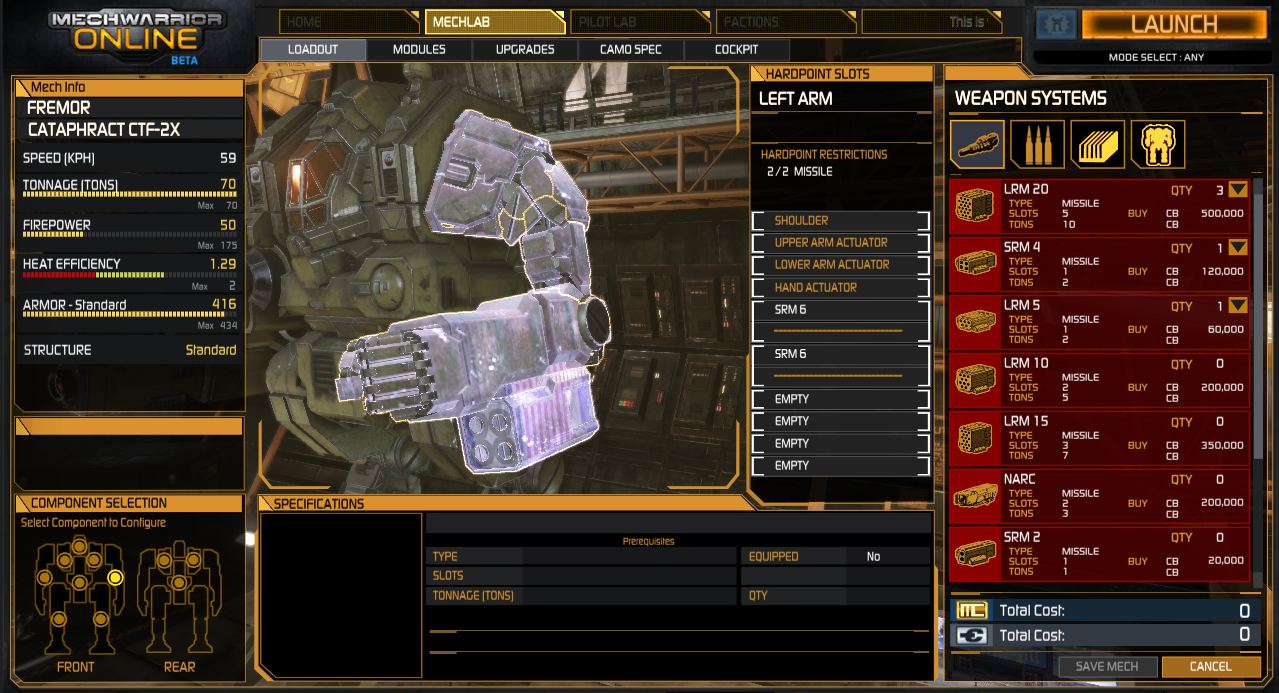
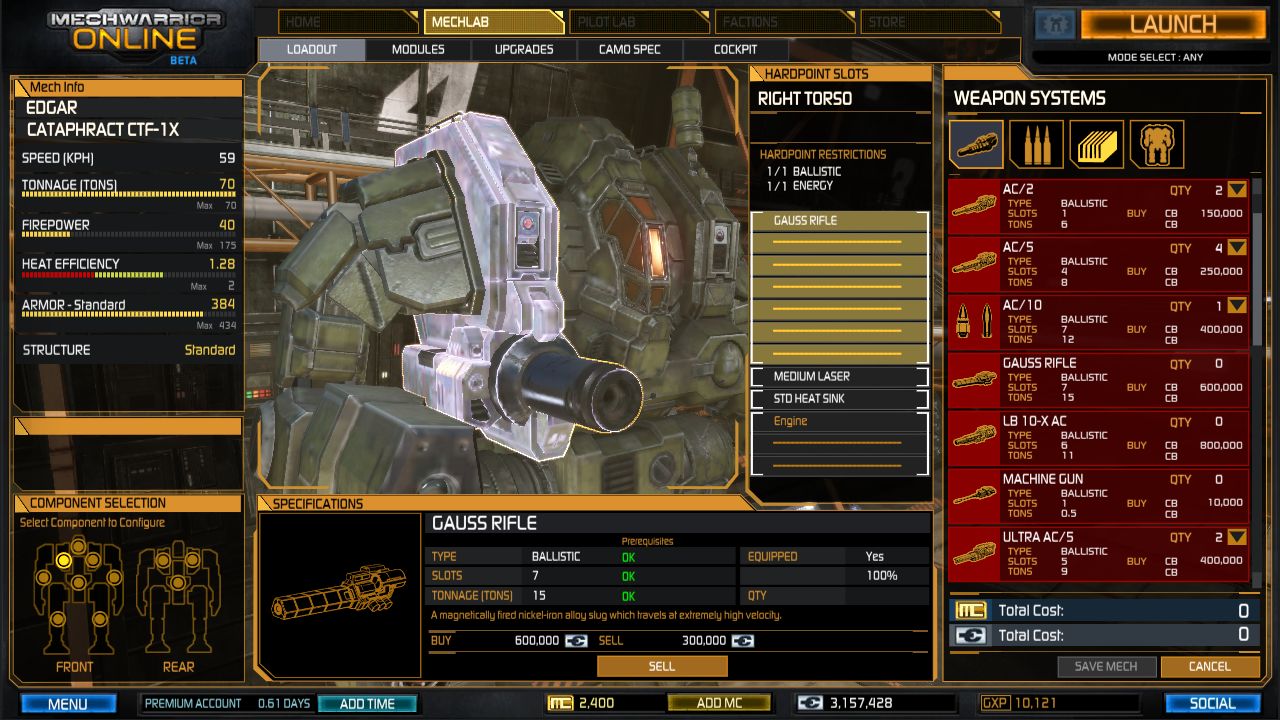
The Cataphract CTF-1x offers 5 energy slots (and one ballistic slot). It will occur to most people to use some mixture of a smaller ballistic weapon (UAC5, AC5, AC10, LB10X) and multiple Large Lasers. However, if you don´t need the range and just want to dish out loads of damage with ease, a Medium Laser centered build usually brings nicer results in regards to the endgame screen. This build provides a successfully tested allround build with an emphasis on high damage dealt utilizing Medium Lasers and a complementary Gauss Rifle as a heat efficient secondary weapon.
![]()
- Cataphract CTF-1X
- XL Engine 255
- Max Armor except legs (~39 each) and cockpit (~10)
![]()
- 5x Medium Laser
- 1x Gauss Rifle (~4x ammo)
- 1x Anti-Missile-System (1x ammo)
![]()
- Despite being a heavy and having a considerable amount of armor: play save, do not lead the charge. Use the increased speed from the engine to outmaneuver your opponents.
- If you find your Gauss Rifle destroyed a lot before you can use up all the ammo, remove 1-3 ammo and replace them with heat sinks.
- If you are at high heat levels, do NOT fire your lasers again and overheat. Instead, fire your Gauss Rifle which produces almost no heat.
- If you overheat and face a strong but slow opponent (Atlas, Stalker, other heavys oder assaults), do the following: override shutdown immediately (hotkey “o”), do not fire, and run for it. Take the fight back to them if you are behind something solid and recovered.
Read More












Get Connected!