 Commando
 Death’s Knell
 Raven
Raven Spider
 Hunchback
 Blackjack
 Centurion
 Yen-Lo-Wang
 Cataphract
 Ilya Muromets
 Jagermech
 Firebrand
 Quickdraw
 Atlas
Atlas Awesome
 Pretty Baby
 Battlemaster
 Highlander
 Stalker
 Misery
 Ballistic Weapons
 Lasers and PPCs
 Short Range Missiles
 Long Range Missiles
-
Do You Play other Games, too?
1 Aug 2014
-
The Best Shadowhawk 2D2 Brawler
13 Nov 2013
-
Competetive Spider 5D Build
7 Nov 2013
-
Shadowhawk 2H (P) Damage Dealer
23 Oct 2013
setup tagged posts
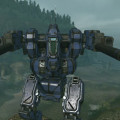
Competetive Spider SDR-5D (ECM)
![]()
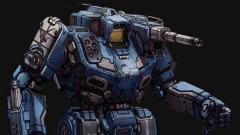
Spiders are very prominent Mechs in random matches and the competitive scene. Ever wanted to be that annoying bugger that zooms around the battlefield, shooting everyone, spotting everywhere while the enemy team is working their bottoms off to catch you? This is one of those Light Mech builds. A Spider 5D build (the variant with ECM) sporting lasers, AMS, ECM, and Jump Jets.
![]()
There are several types of Light Mech builds. The two most important broad categories are builds, which can kill other Light Mechs and the ones which are adjusted to fulfill other tasks. This Spider 5D build is one of the latter. You should avoid fights with other Light Mechs and instead support your team, for example, by harassing LRM boats, spotting, and providing ECM/AMS cover.
![]()
- Never stand still. Use your superior movement speed to not get hit. If you stand still you die.
- Never ever overheat. An overheated Light Mech will be destroyed instantly, and your team will flame you and they will be right to do so!
- Do not engage other Light Mechs. This build is not meant to fight other Light Mechs. Disengage and flee to your team’s other Mediums and Lights.
- Do not fire while turning with your keyboard. Instead, adjust your Mech first, then use your mouse to place precise shots.
- The above rules are absolute and without exceptions. Folllow them at all times, and you will be a great Light Mech pilot instead of just an average nuisance.
- Always soften your falls with Jump Jets in order to avoid unnecessary damage to your legs. A legged Light Mech is easy prey.
Get Connected!
If you know of an excellent build, resource, or guide, submit it and maybe it will be featured on mwo-builds.net and seen by thousands of players. You can submit builds by sending us an e-mail, post it in the official looking-for-builds thread, or send us a private message via the official forums. You can also submit guides and builds via Facebook or Twitter (see below). Join hundreds of other Mechwarrior enthusiasts and like us on Facebook and follow us on Twitter. Receive the latest guides and the best MWO builds directly to your favourite social platform!| Follow @mwobuildsnet |
People who read this guide also read:

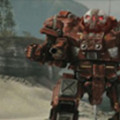
Ilya Muromets (Cataphract Hero Mech) 3x UAC5 Guide
![]()
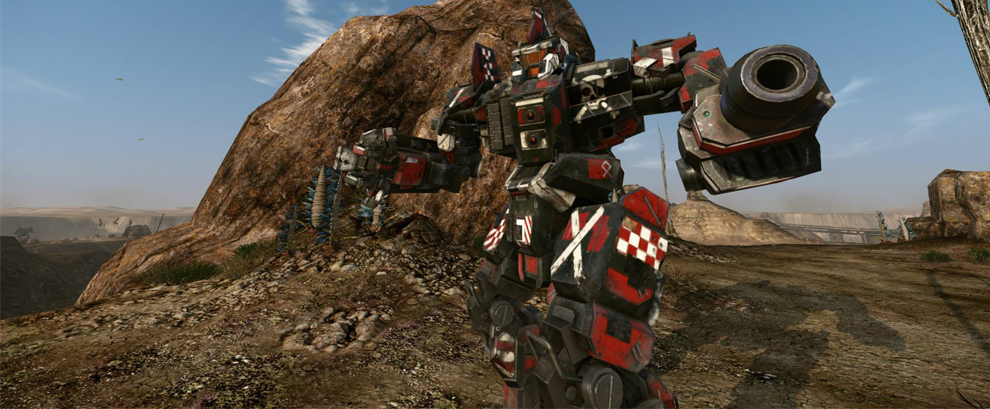
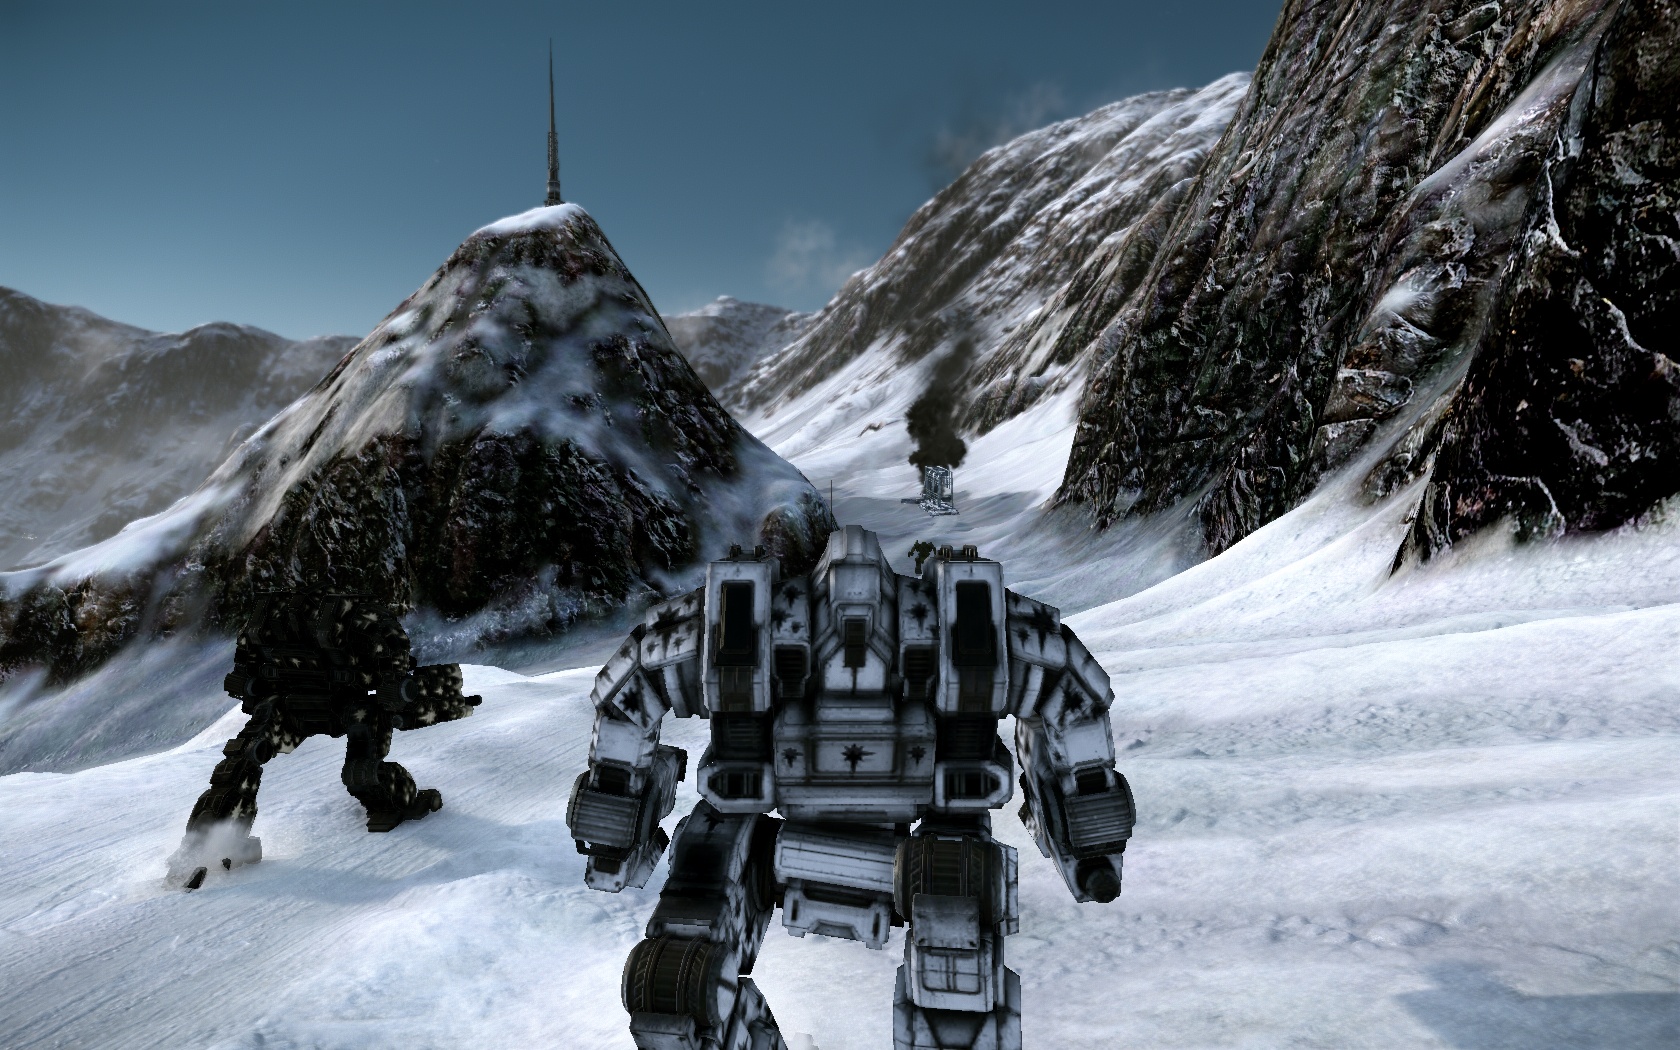
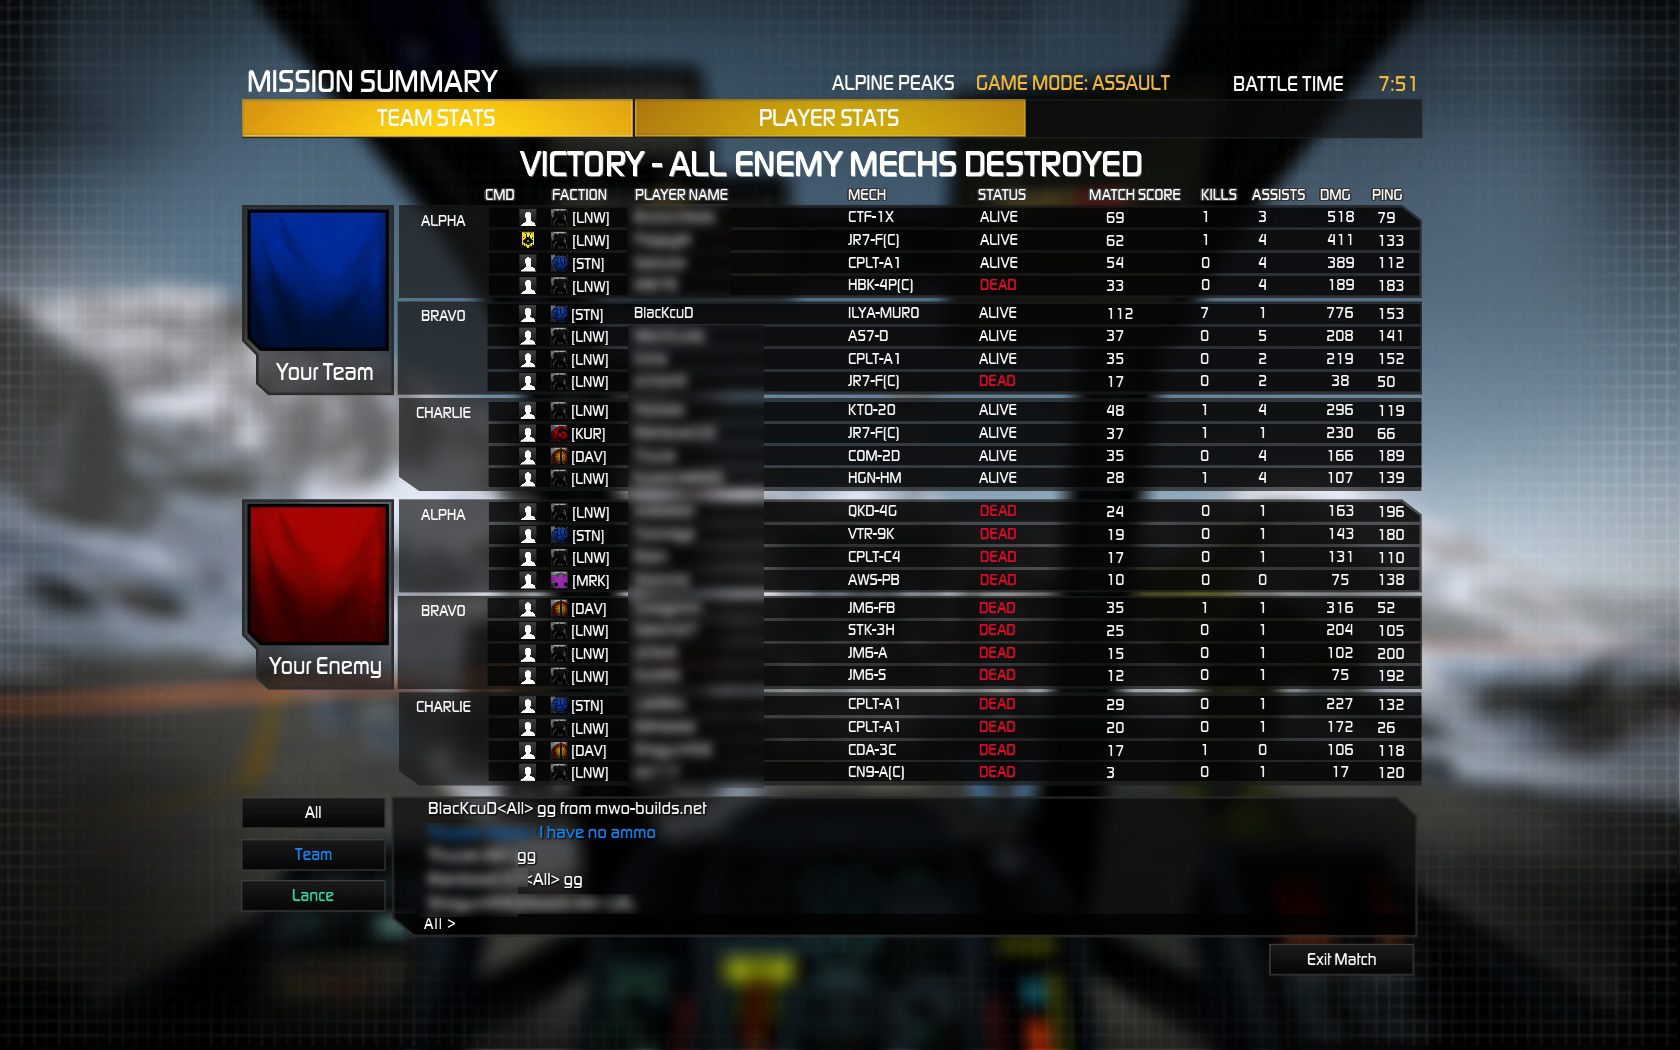
With the recent buff to UltraAC5s, this build has become even more fearsome than it was before. An Ilya Muromets armed with 3x UAC5s, and 2x Medium Laser is a beast. This Cataphract destroys Assault Mechs in seconds. You will have no trouble at all melting through the center torsos of your enemies, hence the nickname “Chainsaw”. The build is reasonably heat efficient and has enough ammo to pump out more than 1,000 damage per match. The only downside is your exposed front, carrying an XL-engine.
![]()
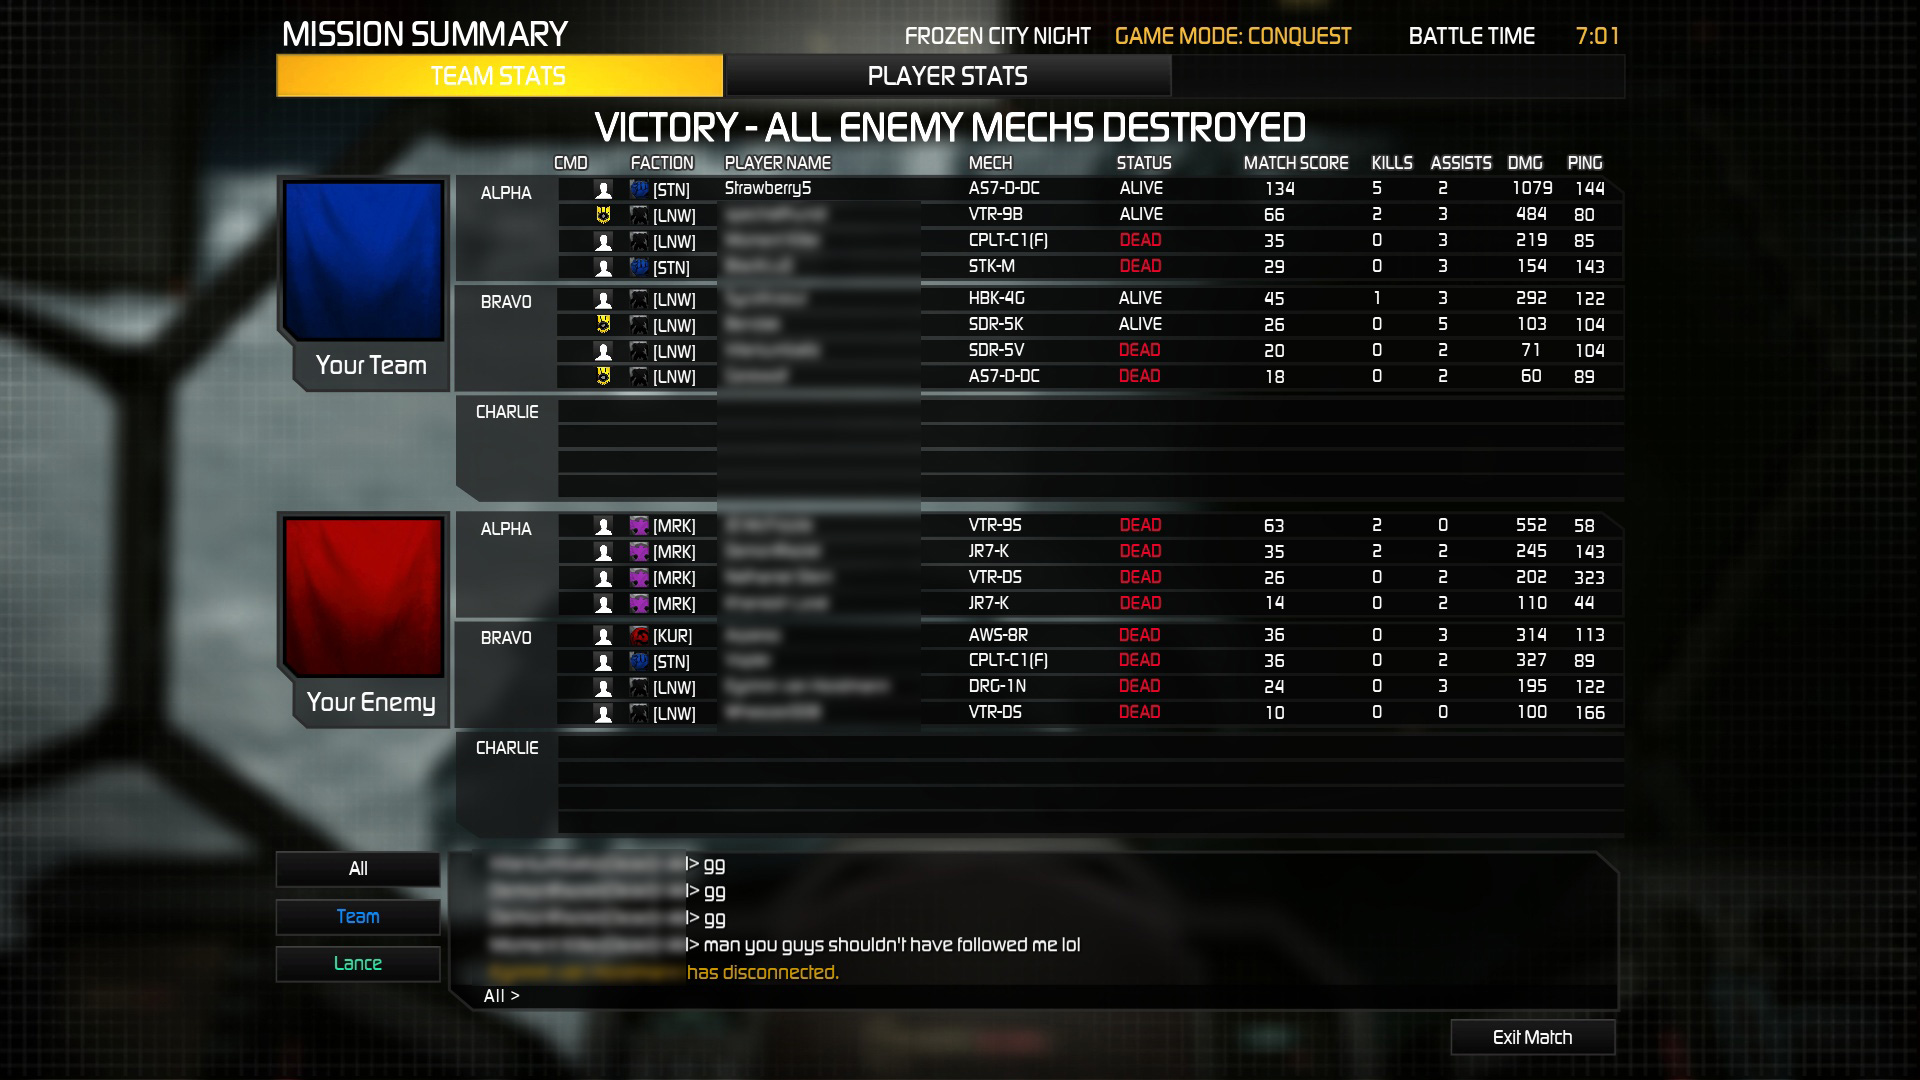
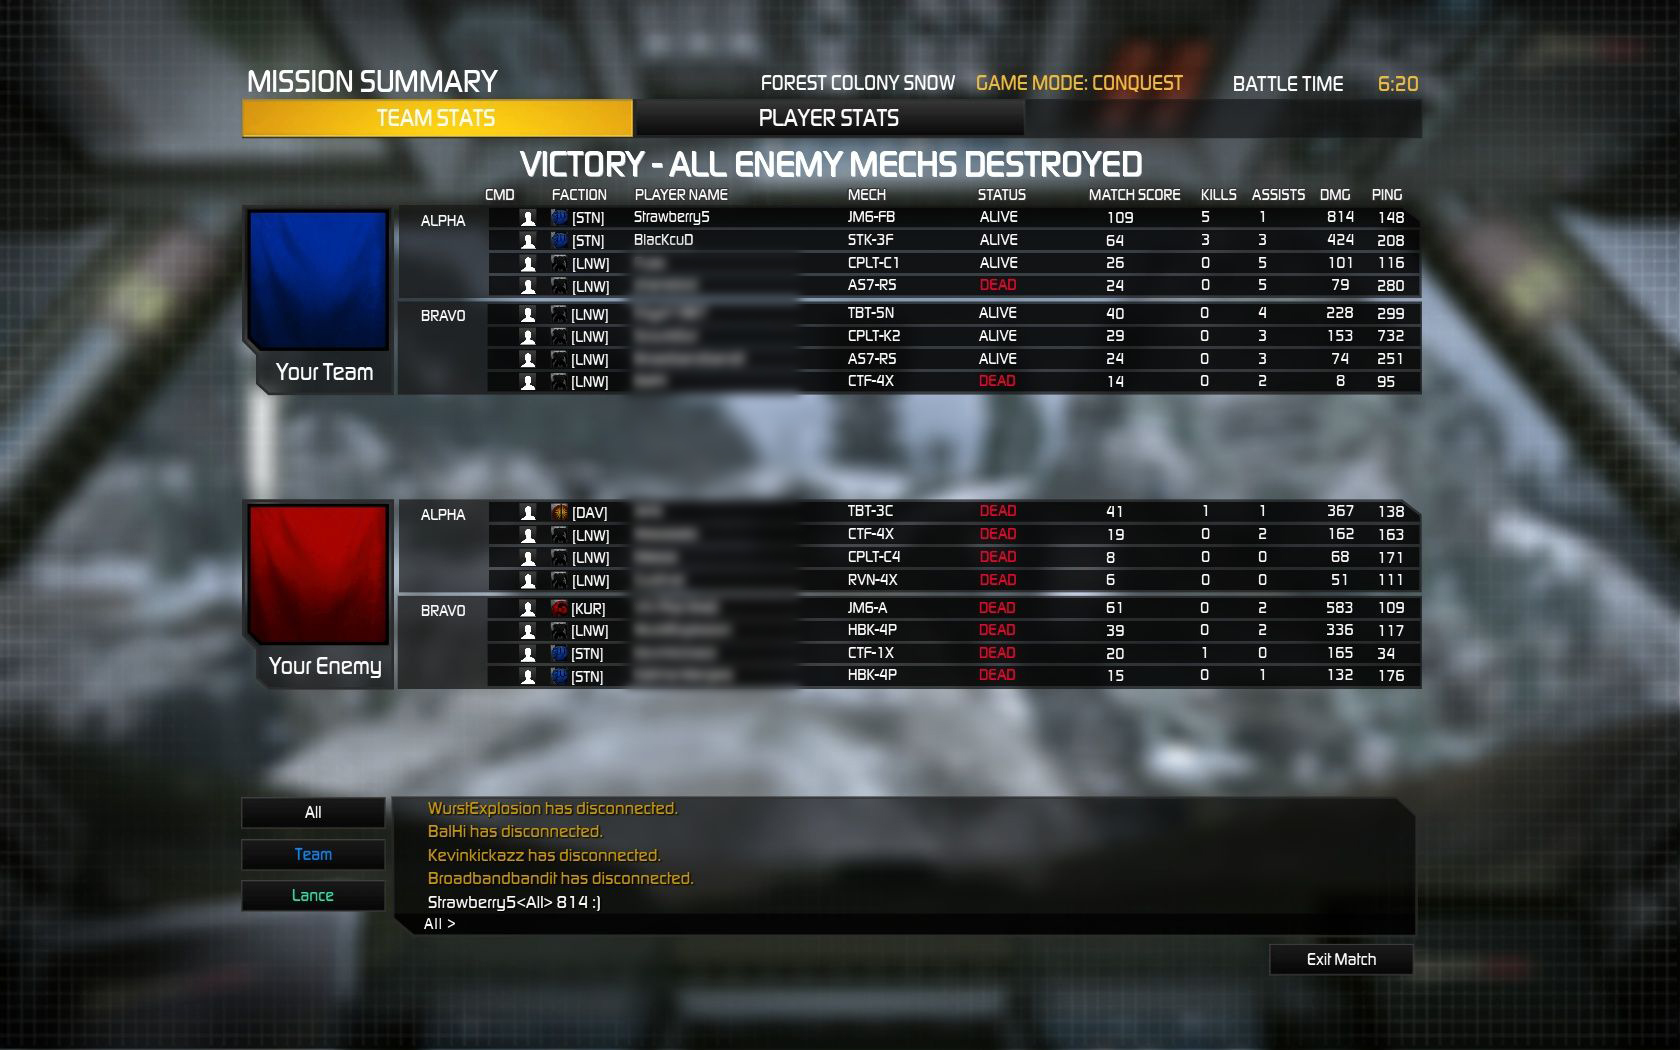
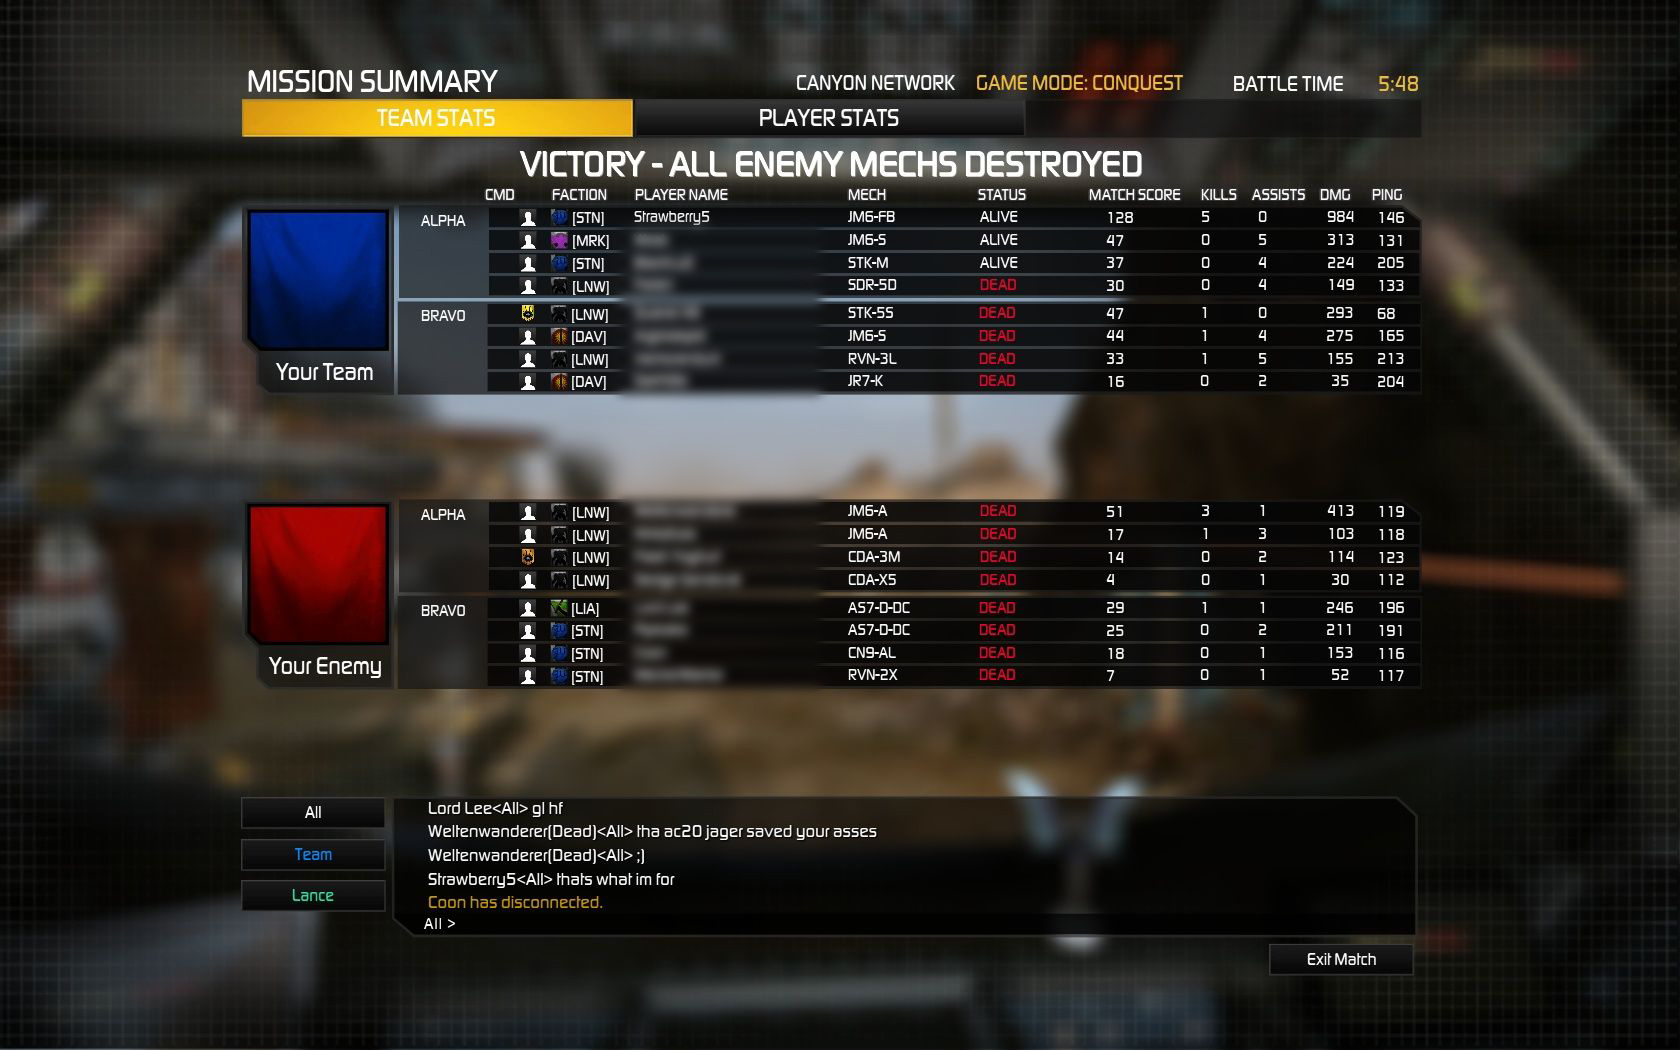
The first version of the build is the most offensive one. This is the maximum possible amount of ammo you can carry. Kaffeangst, myself, and other friends of mine are running this version to great success. 7 kills and 800 damage are no rare sight. However, this version of the Ilya Muromets Chainsaw build is not suited for absolute beginners. If you are new to the game or ballistic heavy builds, I do not recommend this version. You have to know what you are doing at all times and a reasonable level of teamwork, reflexes, and aiming is required.
If you would like to play this build in more of a support role or a newer player, use the following version. It trades some ammo for a larger engine and the addition of AMS. The increased movement speed and the Anti-Missile-System allow you to make more mistakes and support your team, even if you are not destroying Mechs fulltime. Use this build if you see yourself more like a 2nd line of fire guy which sticks behind the large team and assists as necessary.
![]()
- Cataphract plus XL-engine is problematic. If you are eating carefully aimed sniper shoots, LRMs, or high frontal damage, you are done for. Whenever you are being hit by anything mentioned here, get to cover. Do not return fire. Also do not make the mistake to peak around the same corner a few seconds later. You will die a quick but horrible death and be no good to your team, because all that sweet ammo is smoldering in your corpse.
- Since your weapons are firing from a very low point, you must expose yourself almost completely in order to fire properly. That being sad, you should always try to flank the enemy or fire at enemies who do not or can not return fire. The two Medium Lasers are mounted a bit higher, so when in doubt, use your lasers first.
- Weapon grouping advice: 1) All three UltraAC5s 2) Both Medium Lasers. In addition, you can create weapon groups for chain firing the UAC5s, only the arm-mounted ones, or a group for left and right UACs to fire around corners without wasting ammo.
- Ammo is precious and UltraAC5 ammo weighs a lot. Make every shoot count. If you are unsure whether or not you will hit the target, do not fire or use your lasers.
- UltraAC5s are excellent weapons to scare off enemies. However, you want to kill enemies. If you can flank or sneak up on an enemy, wait until you have a clear shoot and hold that trigger down. Early hits will waste ammo and your opponent has more time to react.
- Preferred control options are disabled arm-lock and holding down the weapon group which contains all three of your UltraAC5s. Only use the lasers on colder maps or if you are unsure you can hit properly.
If you are looking for a macro which prevents your UltraAC/5s from jamming, check out our guide on how to setup Fire Control.
![]()
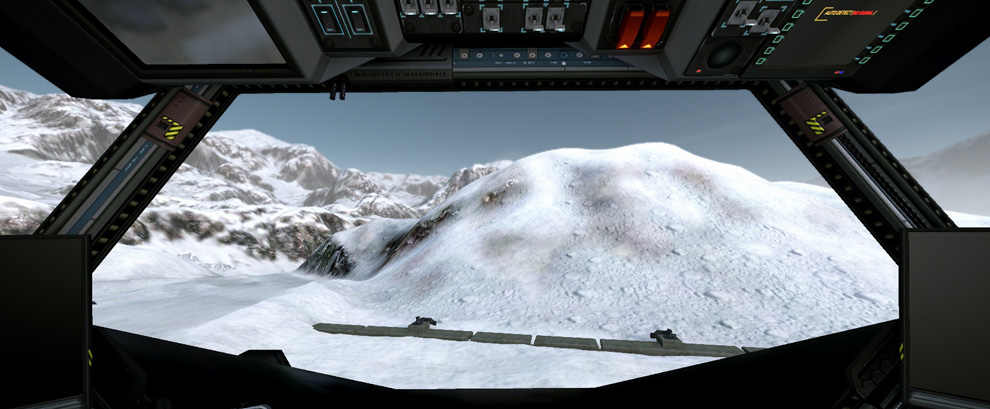
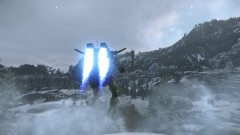
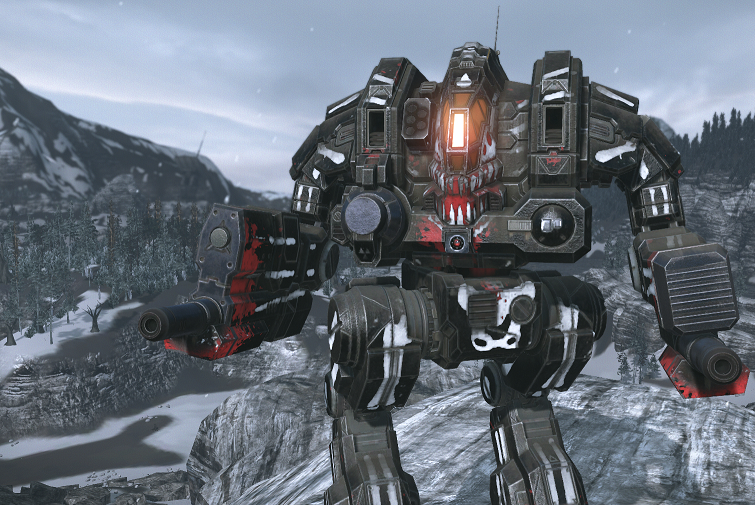
Here is a screenshot of what an average round can look like for you soon.
Get Connected!
If you know of an excellent build, resource, or guide, submit it and maybe it will be featured on mwo-builds.net and seen by thousands of players. You can submit builds by sending us an e-mail, post it in the official looking-for-builds thread, or send us a private message via the official forums. You can also submit guides and builds via Facebook or Twitter (see below). Join hundreds of other Mechwarrior enthusiasts and like us on Facebook and follow us on Twitter. Receive the latest guides and the best MWO builds directly to your favourite social platform!| Follow @mwobuildsnet |
People who read this guide also read:
Hunchback 4G/4H AC/20 Working Brawler Guide
![]()
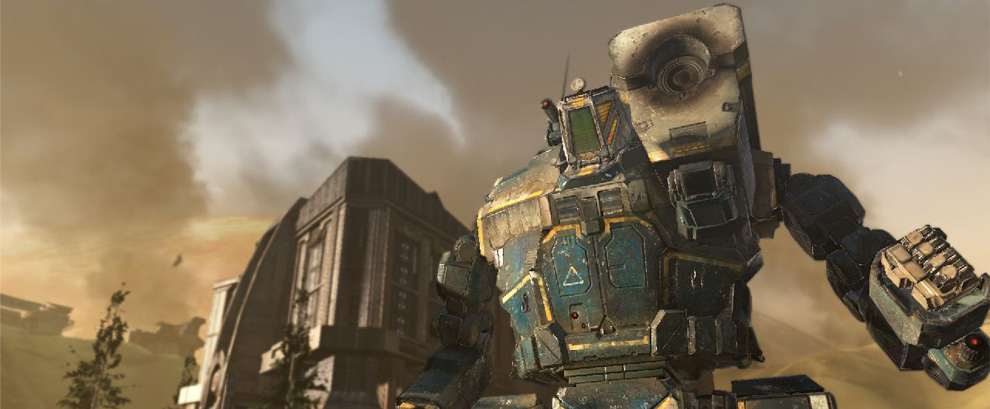
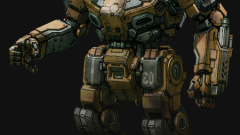
The Hunchback is a very cool chassis. However, many people don’t like it (or struggle while playing), because the hunch, the Hunchback’s signature side torso is such a vulnerable part. The hunch usually holds most of the important weapons and will always be focused down by enemies. This Hunchback brawler guide will show you how to make your hunch less vulnerable enabling a skilled pilot to dish out unseen amounts of damage. The build is centered around an AC/20 and is complemented by lasers. The Hunchback brawler load-out is brought to you by Reslin and was posted in the mwo-builds.net looking-for-builds thread in the official forums. Reslin also wrote a more in-depth guide about several Hunchback variants. Check them out and give him a thumbs up.
![]()
Because it is one of the most crucial things about this Hunchback brawler build, I want to point it out first: Pay close attention to the armor allocation on the builds! The hunch has only 2 rear armor and everything else on the front side. Such a distribution will greatly increase your effectiveness on the battlefield. The hunch’s rear torso will almost never get hit, thus, most points of armor should be at the front.
A similar load-out can be done with the HBK-4H, as well. This particular version of the Hunchback brawler build utilises the additional energy slots in the hunch. If you don’t like the reduced range of the small lasers, just go with the 4G build above. However, the small lasers increase the maximum possible alpha strike slightly.
![]()
- Pay close attention to the armor allocation on the load-outs. If you are off by only a few points, it will greatly diminish your survivability on the battlefield.
- Always stay in motion. If you stand still or overheat, you are toast.
- If you are eating damage and can’t easily return fire, turn your upper torso to protect it and head for cover.
- Your AC/20 is your main weapon. Try to always hit perfect shots on cooldown. If you are unsure that you can place your shot, don’t shoot.
- Try to focus all lasers on the same component to incapacitate and down enemies fast.
- Weapon grouping hints for first load-out: 1) AC/20 2) All Lasers.
- Weapon grouping hints for second load-out: 1) AC/20 2) All Medium Lasers 3) All Lasers.
- Do not use arm-lock with this build. It might help newer players to optimise pinpoint damage, but you are wasting a lot of the Hunchbacks’s excellent agility and run-by abilities.
![]()
The builds in this Hunchback guide were kindly provided by Reslin. He also wrote a more in-depth guide about the Hunchback chassis. Check it out and drop him a like.
Get Connected!
If you know of an excellent build, resource, or guide, submit it and maybe it will be featured on mwo-builds.net and seen by thousands of players. You can submit builds by sending us an e-mail, post it in the official looking-for-builds thread, or send us a private message via the official forums. You can also submit guides and builds via Facebook or Twitter (see below). Join hundreds of other Mechwarrior enthusiasts and like us on Facebook and follow us on Twitter. Receive the latest guides and the best MWO builds directly to your favourite social platform!| Follow @mwobuildsnet |
People who read this guide also read:

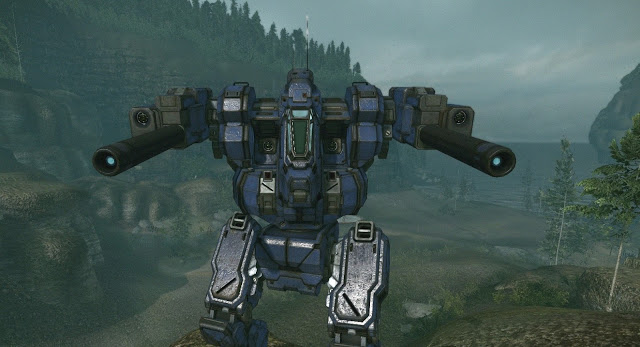
Blackjack 1X Brawler Build
![]()
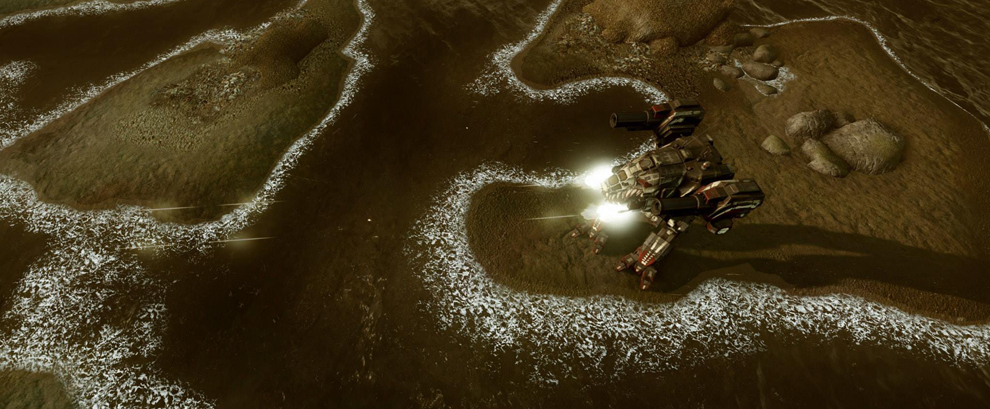
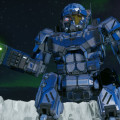
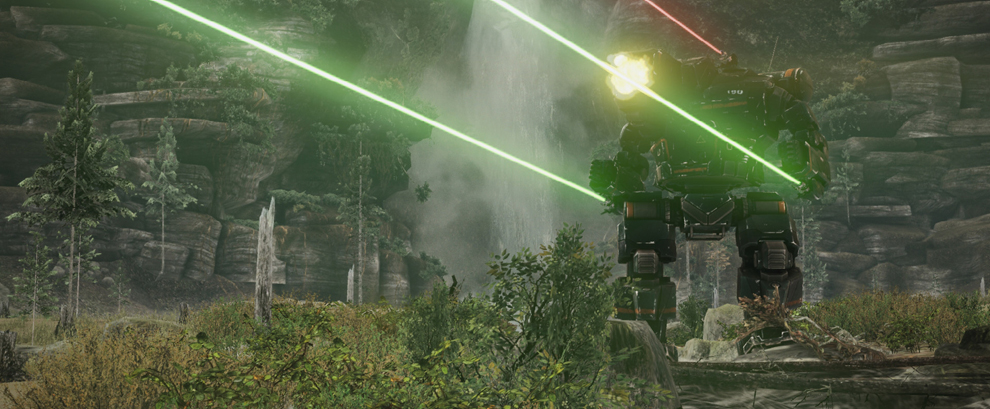
We are constantly looking for the good builds through the official forums. Today we will have a look at another build brought to you by the community. A very fast Blackjack brawler build utilizing Medium Lasers. With this Blackjack 1X build you will be able to run as fast as most light Mechs and dish out considerable damage. Being able to fire six medium lasers almost without any heat issues makes this loadout a fearsome brawler. The Blackjack’s hardpoints allow the pilot to fire over cliffs and hills without exposing a lot of profile, similar to the Jagermech. If you can see it, you can kill it! For our avid readers who’s been asking if it’s safe to play real money online slots, you can click now right here to answer the questions.
![]()
Six Medium Lasers will make your enemies flee in terror. A lot of other builds have a comparable amount of lasers, but this Blackjack 1X build has enough double heat sinks to fire them constantly. The large engine provides excellent mobility, bringing your pain to wherever your team needs it. Read more at weboworld, have fun reading interesting things in there.
![]()
- Use your Blackjack’s high mounted weapons to shoot over cover without exposing too much of your chassis.
- This loadout is very heat efficient. For maximum continuous fire, consider carrying a cool shot consumables.
- The XL-engine provides you with a traveling speed of over 100kph. If you can’t win a fight, pick another one.
- Do not fear enemy SRM and AC carrying Mechs. The Blackjacks silhouette is very small and combined with the high movement speed you will be very hard to hit.
![]()
This build was kindly provided by Vulcan888. Check out the original post here.
Get Connected!
If you know of an excellent build, resource, or guide, submit it and maybe it will be featured on mwo-builds.net and seen by thousands of players. You can submit builds by sending us an e-mail, post it in the official looking-for-builds thread, or send us a private message via the official forums. You can also submit guides and builds via Facebook or Twitter (see below). Join hundreds of other Mechwarrior enthusiasts and like us on Facebook and follow us on Twitter. Receive the latest guides and the best MWO builds directly to your favourite social platform!| Follow @mwobuildsnet |
People who read this guide also read:
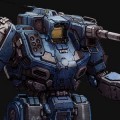

How to Build the most efficient Atlas D-DC SRM + AC/20 Brawler Loadouts
![]()
Everybody enjoys the Atlas D-DC. Everybody loves SRMs! Everybody craves for AC/20s. Everybody likes to have an ECM installed. Everybody wants to be on top of the score board. Well, maybe not everybody but most players will admit that most of these things are excellent toys to have fun with in Mechwarrior Online. I have a fair share of Atlas piloting experience myself and tried various builds. I also receive regular input from clan mates and real-life friends who pilot D-DCs themselves.
For a regular full guide, the author would rant on about how you must balance ammo position and tonnage. Armor on legs and engine size, etc etc. Not here. We played Atlas AS7-D-DCs for weeks and have come up with two of the most excellent builds. These builds are focussed on head-on close quarter combat. Long range weapons and PPCs are for sissies. Real pilots bring an AC/20 to the SRM brawl. 100t of death will ensure you eternal glory on the battlefield and the death curses of your enemies in the weeks to come.
![]()
We have come up with two very similar builds. The first one is faster, has more armor and an AMS installed. The second one skips on the defensive part in order to utilise bigger SRMs with more heat sinks. Thus, the second build runs a little bit slower and is more vulnerable, but has a slightly higher alpha strike and more sustained dps. Which of the two builds you’ll use is completely up to you. If you are a new to the game or the assault chassis in general, I personally recommend going with version #1. If you are already an experienced MWO player and know how to play, go with version #2.
Atlas D-DC Build version #1 – More Armor, better engine, and AMS
Atlas D-DC Build version #2 – Higher alpha strike, more sustained DPS.
If you want a more all-round build with more ranged weapons, but still stick with the D-DC and what makes it so strong, check out the Atlas D-DC juggernaut build guide.
![]()
- Your side-torsos are your most vulnerable part. You won’t die if you take some hits, but there is a high chance your most valuable weapons will be critted and destroyed. If you can not shoot, but are being shot at, turn your upper torso sideways. Your arms are sturdy as hell, and you won’t miss them once they are gone.
- If you are engaged in a brawl and running very hot, stop firing the medium lasers. Focus on perfectly hitting your AC/20 shots only. If the heat permits it, continue firing your SRMs.
- Weapon grouping tips: 1) AC/20 2) Medium Lasers 3) SRM6s 4) All weapons. This is one possible way to configure your weapon groups. However, do not bother with chain firing or other combinations. The loadout is pretty straight forward, and you should have these four intuitive groups set for maximum efficiency in hectic situations.
- Do not waste your SRM ammo on light Mechs. You will not hit them enough to make it worthwhile. Instead, use your medium lasers against their legs and fire AC/20 shots in their faces if you are sure you will hit them.
![]()

Get Connected!
If you know of an excellent build, resource, or guide, submit it and maybe it will be featured on mwo-builds.net and seen by thousands of players. You can submit builds by sending us an e-mail, post it in the official looking-for-builds thread, or send us a private message via the official forums. You can also submit guides and builds via Facebook or Twitter (see below). Join hundreds of other Mechwarrior enthusiasts and like us on Facebook and follow us on Twitter. Receive the latest guides and the best MWO builds directly to your favourite social platform!| Follow @mwobuildsnet |
People who read this guide also read:
![]()
It has been a few weeks since the Jagermech made its splash in the MWO scene. Sporting easily some of the best ballistic hardpoint setups available, it has quickly become a very beloved (and hated) chassis. Especially the Jagermech dual AC 20 builds have risen in popularity due to their ability to quickly kill people in PUG matches. This guide works with every variant of the Jagermech. The last patch nerfed dual AC/20 builds alpha strike potential. However, your overall damage per second is still the same. More on this in section Playstyle below. To see which variant is best for you (apart from building a dual AC 20), check out the following list:
- JM6-S : The most versatile of all the variants. Used in tournament play.
- JM6-DD : Offers the most ballistic slots. Fun chassis for ballistic weapon freaks (dakkadakka!).
- JM6-A : Has missile hardpoints, which the other chassis don´t.
- JM6-Firebrand : Hero Mech. If you don´t mind the MC price, this will be a comfortable tool to farm huge amounts of c-bills in no time at all.
![]()
As mentioned above, this build works with every variant. If you want more armor/lasers, tune down the engine to an XL 260.
![]()
- Be aware of the latest MWO patch! You will overheat instantly when attempting to fire both AC/20s at the same time. Set them to chain fire (default hotkey BACKSPACE) and click twice slowly. If you overheat, you have clicked too quickly. This will reduce your pinpoint damage, but overall damage output will still be the same.
- Aiming is key! You will deal a lot of damage by just firing randomly at your enemies, but you will kill them in seconds if you aim for the right parts.
- You are very fast and agile (for your weight class and armament). Use this to quickly flank, flee, engage or whatever it needs to get into a good firing position.
- Shoulders, rear Center Torso and Legs should be your primary targets. If your enemy is holding still, aim for the cockpit.
- Do not try to hit enemies further away than a couple hundred meters. If your ammo is expended or you overheat, you are a worthless to your team.
![]()
Get Connected!
If you know of an excellent build, resource, or guide, submit it and maybe it will be featured on mwo-builds.net and seen by thousands of players. You can submit builds by sending us an e-mail, post it in the official looking-for-builds thread, or send us a private message via the official forums. You can also submit guides and builds via Facebook or Twitter (see below). Join hundreds of other Mechwarrior enthusiasts and like us on Facebook and follow us on Twitter. Receive the latest guides and the best MWO builds directly to your favourite social platform!| Follow @mwobuildsnet |
Get Connected!