 Commando
 Death’s Knell
 Raven
Raven Spider
 Hunchback
 Blackjack
 Centurion
 Yen-Lo-Wang
 Cataphract
 Ilya Muromets
 Jagermech
 Firebrand
 Quickdraw
 Atlas
Atlas Awesome
 Pretty Baby
 Battlemaster
 Highlander
 Stalker
 Misery
 Ballistic Weapons
 Lasers and PPCs
 Short Range Missiles
 Long Range Missiles
-
Do You Play other Games, too?
1 Aug 2014
-
The Best Shadowhawk 2D2 Brawler
13 Nov 2013
-
Competetive Spider 5D Build
7 Nov 2013
-
Shadowhawk 2H (P) Damage Dealer
23 Oct 2013
ac/5 tagged posts
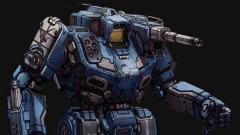
Battlemaster 1G (Phoenix Hero Variant) Pubstomper Guide
![]()
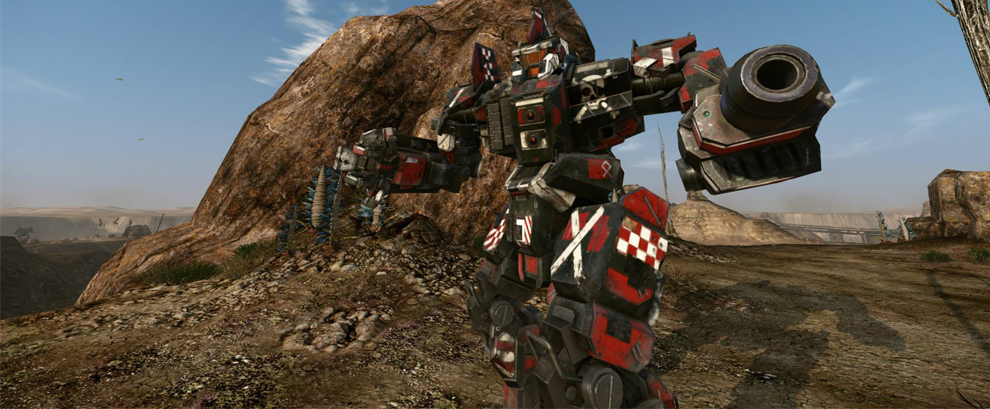
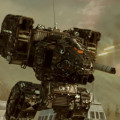
Project Phoenix has arrived, and people have already come up with decent builds for Shadowhawks and Locusts. However, good Battlemaster builds are much harder to come by. The build presented here is a big mile stone in the development of the Battlemaster. It has everything you need: Long range high pinpoint damage, close quarter punch, and above average survivability. Two AC/5s and a single PPC provide excellent sniping and fire support capabilities. Six (6!) Medium Lasers allow you to dish out insane damage at close range. You can also continue to fire your double AC/5s while brawling. Finally, the Battlemaster is an Assault Mech and this build utilises a standard engine making it very durable. Let’s take a look at the build.
![]()
There are a few minor adjustments possible, depending on your preferred play style. For example, if you are more comfortable having all sniper weapons on your arms for increased precision, you can swap the PPC to your right arm and move the Medium Laser to the torso. While this is more comfortable, it is also less effective. Sniping around corners becomes more difficult and you will lose more important weapons when using your right arm as a shield arm. Addition of AMS is also possible, just remove any of the Medium Lasers, AC/5 ammo, or DHS to free up the tonnage. However, do not remove armor from your head. The cockpit is really easy to hit at the moment and you need every point of armor on it.
![]()
- PPCs have a minimum range of 90ms. Do not fire them beyond that range ever. You will overheat and die miserably.
- In high heat situations stop firing your PPCs immediately. You will always do more damage, if you do not overheat and use your AC/5s exclusively.
- AC/5s reload much faster than PPCs. Try working in at least one additional AC/5s salvo in between PPC recycle times when engaged at longer ranges.
- Use your right arm as a shield. One of your most vulnerable spots is you center torso. Try to protect it at all times.
- The Battlermaster’s upper torso twisting angle is very crappy. Keep this in mind when crossing through open spaces. Try to back up against a wall when engaged in close quarters.
- If you are playing in an organised group it is highly recommended allocating almost every point of armor in the front. If you are playing random games without a group, 10-25 rear armor are probably the better choice.
- Weapon grouping advice: 1) PPC and both AC/5s 2) All Medium Lasers 3) Both AC/5s only
- For modules use Cool Shot 9 by 9, Advanced Sensor Range, and Advanced Seismic Sensor. You can play around with the Advanced Zoom Module in exchange for the Advanced Seismic Sensor.
Get Connected!
If you know of an excellent build, resource, or guide, submit it and maybe it will be featured on mwo-builds.net and seen by thousands of players. You can submit builds by sending us an e-mail, post it in the official looking-for-builds thread, or send us a private message via the official forums. You can also submit guides and builds via Facebook or Twitter (see below). Join hundreds of other Mechwarrior enthusiasts and like us on Facebook and follow us on Twitter. Receive the latest guides and the best MWO builds directly to your favourite social platform!| Follow @mwobuildsnet |
People who read this guide also read:

Viable Highlander 733C Load-Outs for 12 vs 12
![]()
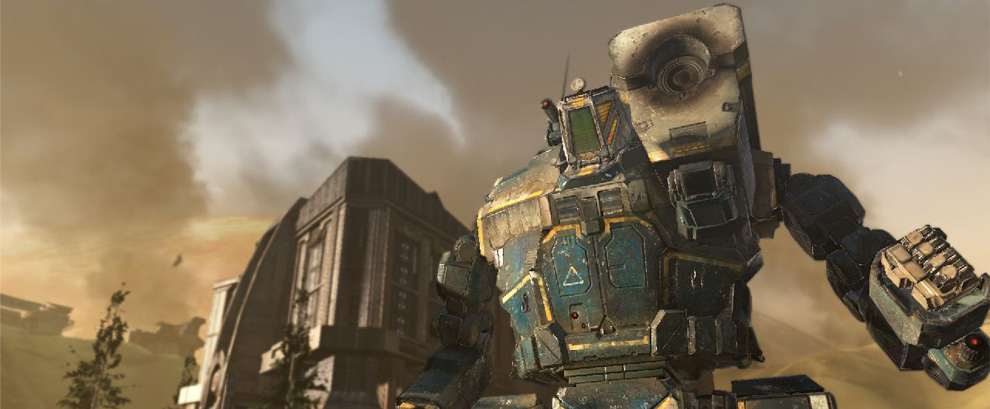
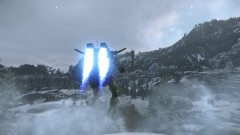
Did you ever wonder what some of THE most used builds in high-level 12 vs 12 look like? Well, wonder no more as this guide will show you some of the semi-secret builds that pro-level players are using everyday. This guide in particular will focus on the Highlander 733C. It’s hardpoint layout and high tonnage allows it to bring highly targeted damage to the frontlines while still remaining surprisingly agile for an Assault Mech. With the old PPC-Gauss-Sniper builds gone, the attention has shifted to other ballistic weapons, namely the AC/10, AC/5, and AC/20. This Highlander Competetive Guide will showcase three different versions of a Highlander 733C sniper build which is used by the best of the best.
![]()
The first version is probably the most easy to use. If you are new to the Highlander chassis and jump-sniping (aka “pop tarting) in particular, I highly recommend this build. It is very effective even if you are not jump-sniping. A standard engine and AMS provide excellent durability.
The second version is basically the deluxe version of the first one. You will have more armor, higher movement speed, and enough heat dissipation to fire an additional alpha strike. However, you are also slightly more vulnerable since your Mech uses an XL-engine. This build is lethal in the hands of an experienced pilot.
Lastly, you can switch out the AC/20 for double AC/5s. Your firepower and pinpoint damage will be reduced, but your overall damage increases. The build is slightly more heat efficient and is more effective over long ranges. If you can work in a second alpha with only the AC/5s inbetween regular full alpha strikes, you will demolish every enemy.
![]()
- PPCs have a minimum range of 90ms. Do NOT fire them beyond that range ever. You will overheat and die miserably in close quarter fights.
- All your weapons are on the right side of your Mech. Whenever you can not return fire, twist your upper torso to protect these weapons and absorb the damage with your unimportant arm.
- Use your jump-jets to peak over rocks, buildings, and ledges. Try to release an alpha strike on your way down.
- If you are playing in an organised group it is highly recommended allocating almost every point of armor in the front. If you are playing random games without a group, 15-25 rear armor are highly recommended as well you can try online casino games at clickspark.it you can find very important info about this last ones.
- Weapon grouping advice: 1) All weapons 2) PPCs only 3) AC(s) only
- For modules use Cool Shot 9 by 9, Advanced Sensor Range, and Advanced Seismic Sensor. If you are running the 3rd version (with 2x AC/5s) you can play around with the Advanced Zoom Module in exchange for the Advanced Seismic Sensor.
Get Connected!
If you know of an excellent build, resource, or guide, submit it and maybe it will be featured on mwo-builds.net and seen by thousands of players. You can submit builds by sending us an e-mail, post it in the official looking-for-builds thread, or send us a private message via the official forums. You can also submit guides and builds via Facebook or Twitter (see below). Join hundreds of other Mechwarrior enthusiasts and like us on Facebook and follow us on Twitter. Receive the latest guides and the best MWO builds directly to your favourite social platform!| Follow @mwobuildsnet |
People who read this guide also read:
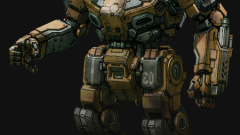
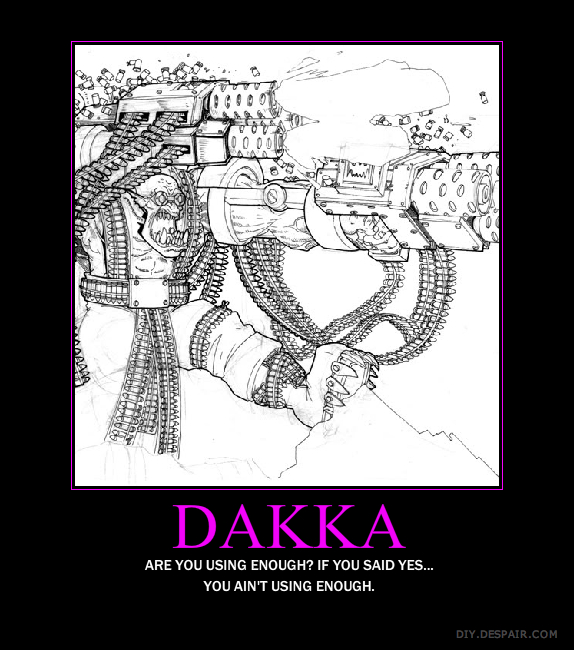
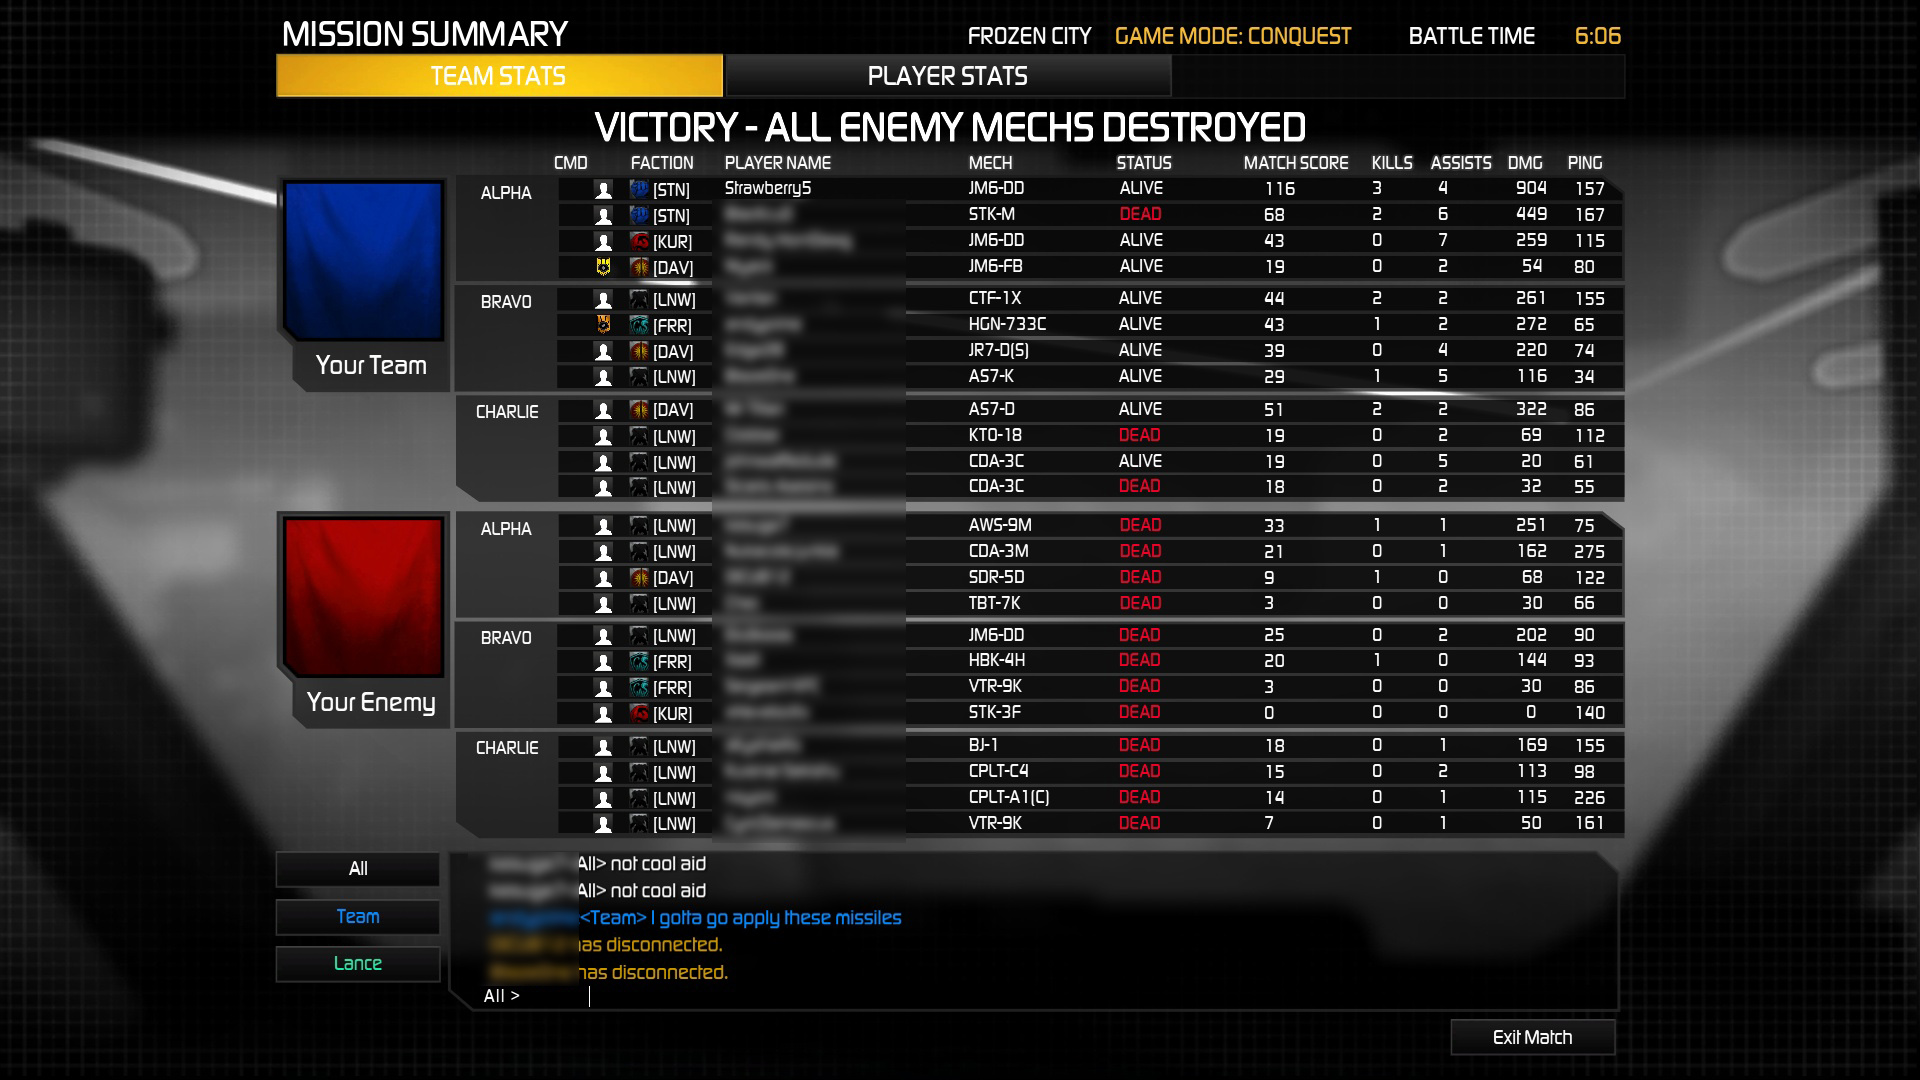
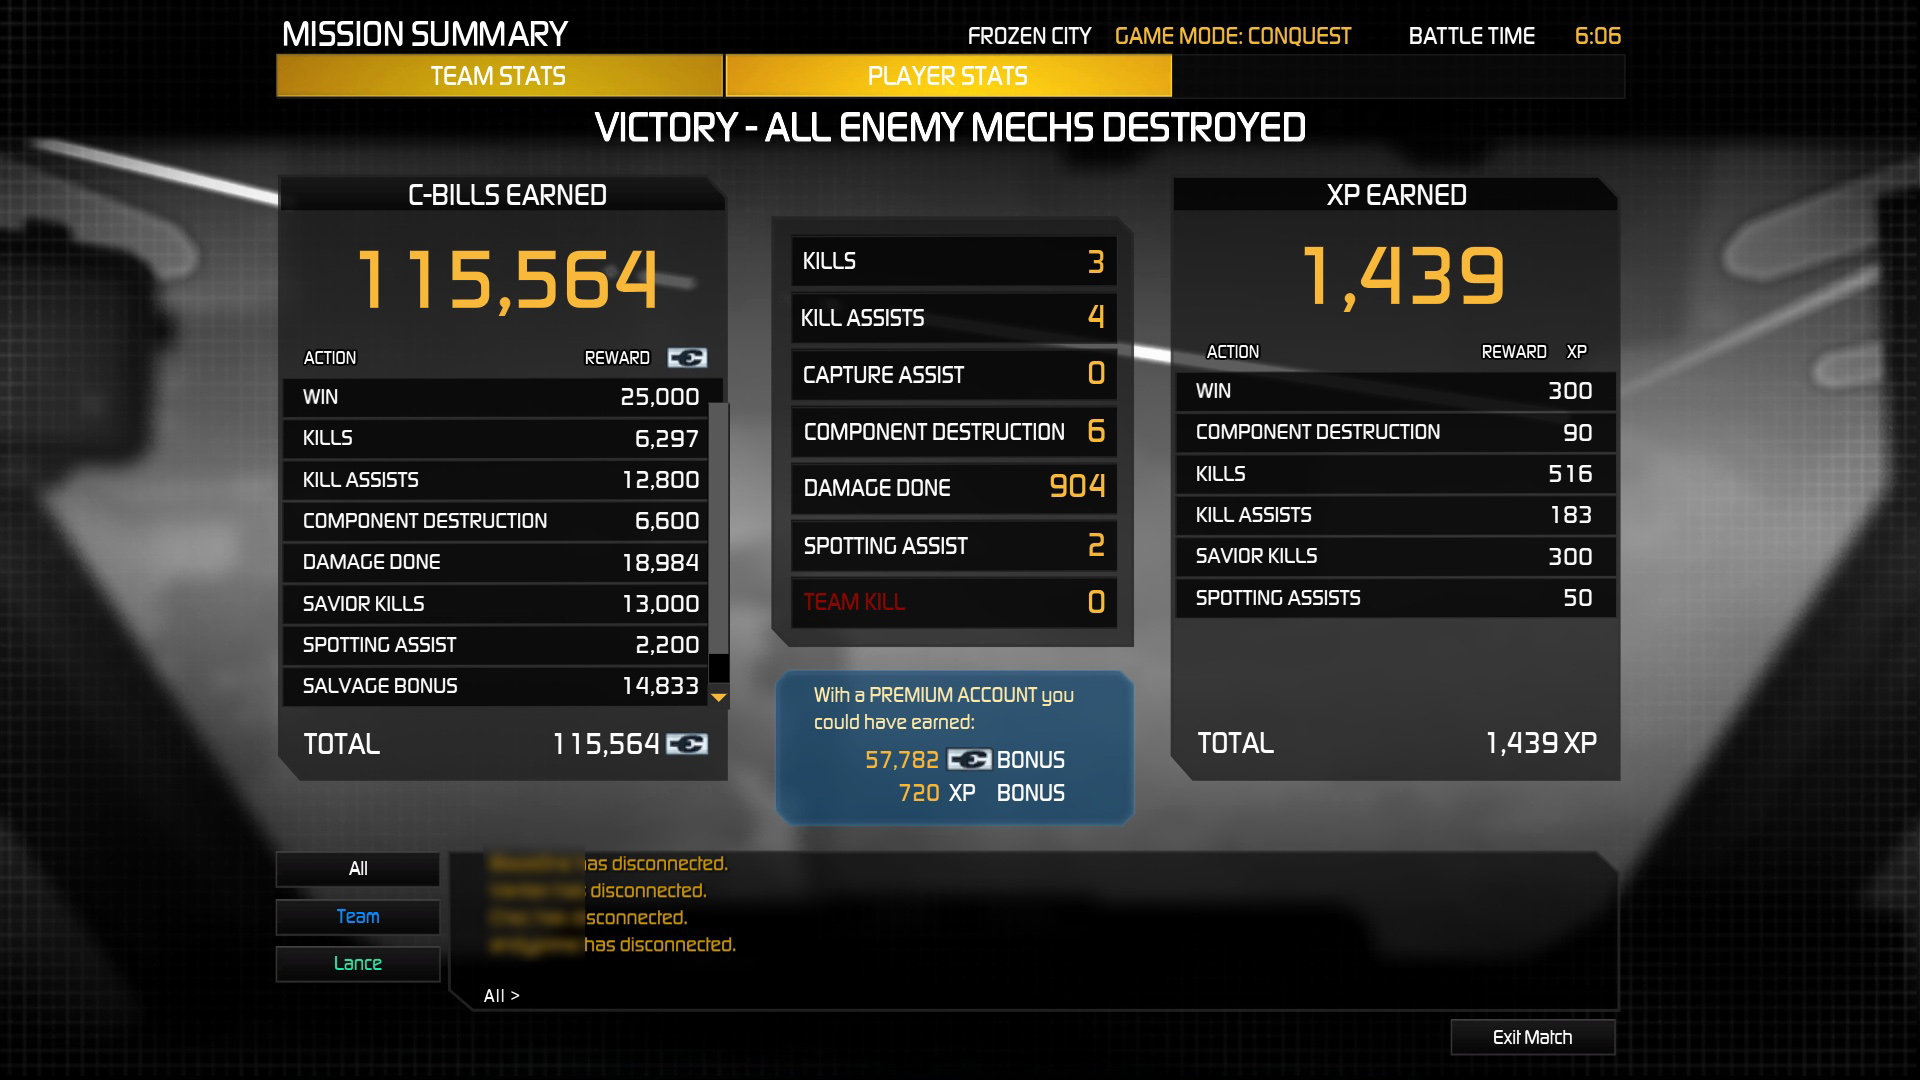
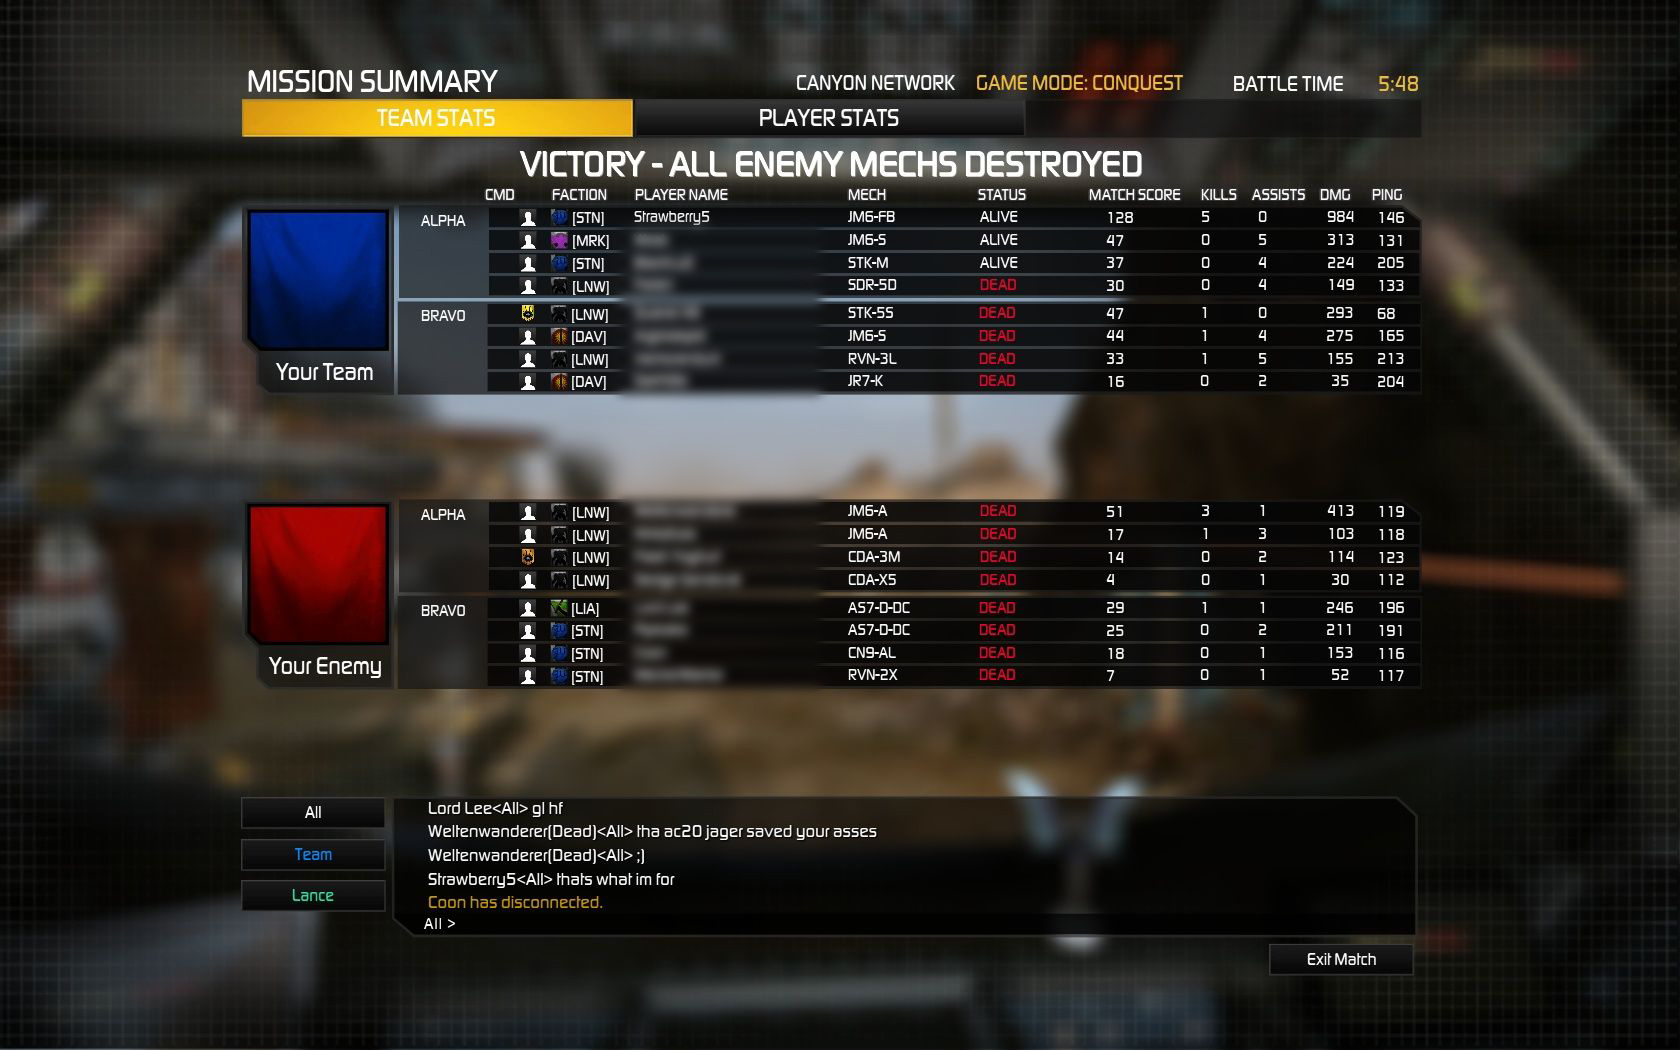
Jagermech DD Ballistic Build with ACs and lots of Dakka!
![]()
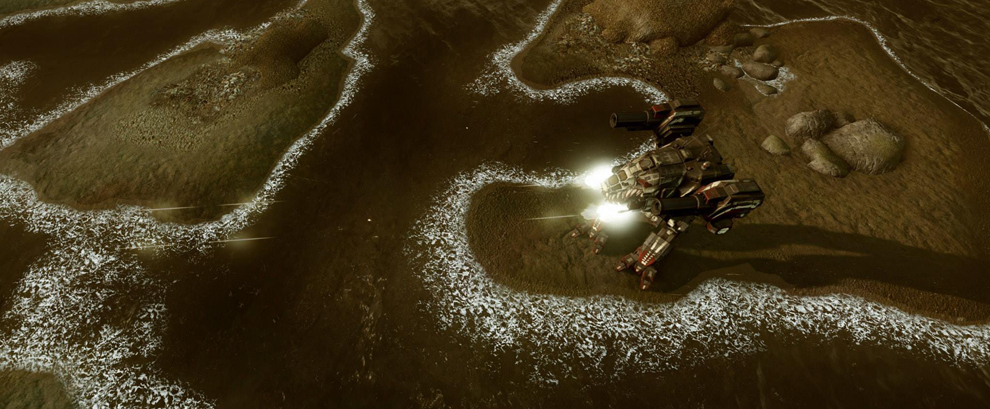
Jagermechs are revered and feared for their high amount of ballistic slots. This Jagermech DD build utilises all 6 (in words “six”) ballistic hardpoints. A guide that will blow your mind, enemies, and your headset to bits. The build is a lot of fun to play and still more than effective enough to destroy PUG games. The idea for this build comes from a good friend of mine, Strawberry5. He is a decent pilot, knows how to think out of the box, and pilots his Jagermechs (including a Firebrand) with great skill.
![]()
In order to accompany all the heavy ballistic weapons in this chassis, the armor has been reduced to the bare minimum. It is also recommended that you put a high emphasis on the front side torsos and only put minimalistic amounts of armor on your rear shoulders. Downsizing the engine is not recommended, since your Mech will already move very slowly.
![]()
- Use the Jagermech’s unique geometry to expose yourself as little as possible. The ballistic weapon hardpoints are mounted on a very high position. Try to get a feeling for how far you must expose your Mech in order to fire. Never go further out than necessary.
- Try to fight at range if possible. The double Machine Guns and Small Lasers increase your close range damage a lot. However, the low movement speed and minimalistic armor values will ensure a quick death if you are caught off guard by other more heavily armored brawlers with SRMs and the like.
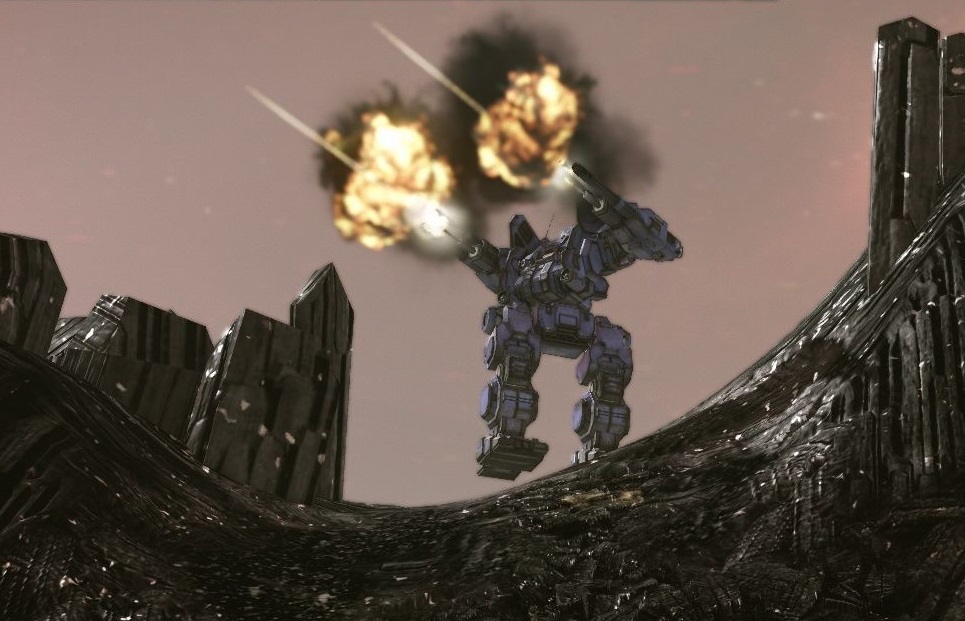
- If you become entangled in a fire fight which you would probably lose, retreat immediately, but also try to keep firing while doing so. The screen shaking power of four ballistic weapons will make it impossible for the enemy to aim at your properly and many players will be scared by the special effects shrouding their screens.
- There are some other games that you can practice with your friends like for example Playing Backgammon that is very funny.
![]()
![]()
The build which forms the core of this guide was invented and provided by Strawberry5.
Get Connected!
If you know of an excellent build, resource, or guide, submit it and maybe it will be featured on mwo-builds.net and seen by thousands of players. You can submit builds by sending us an e-mail, post it in the official looking-for-builds thread, or send us a private message via the official forums. You can also submit guides and builds via Facebook or Twitter (see below). Join hundreds of other Mechwarrior enthusiasts and like us on Facebook and follow us on Twitter. Receive the latest guides and the best MWO builds directly to your favourite social platform!| Follow @mwobuildsnet |
People who read this guide also read:

Please note: This guide may still be viable, but is very old.
You will probably find better ones or will need to tweak a few things. In addition, some or all meta game information and play style/hints may include outdated information. As soon as an updated version is available, it will be shown here. If you have up-to-date information on how to improve this build, please leave a comment below. Thank you.
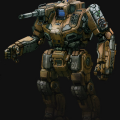
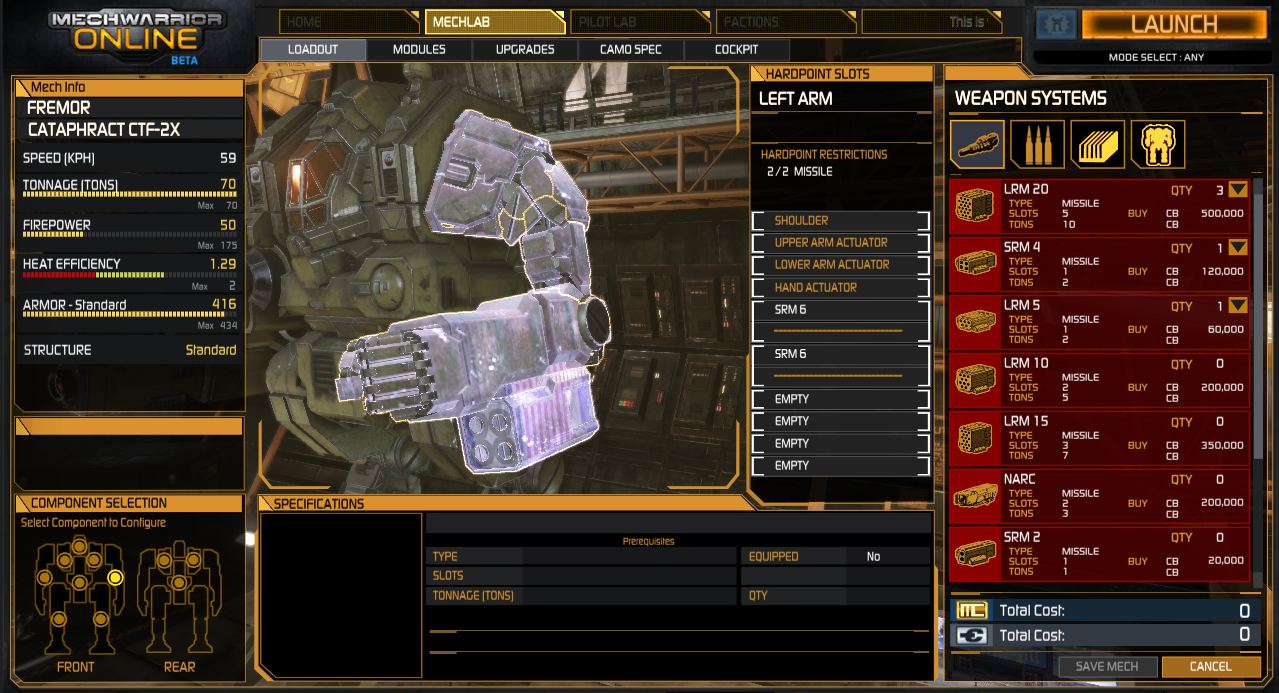
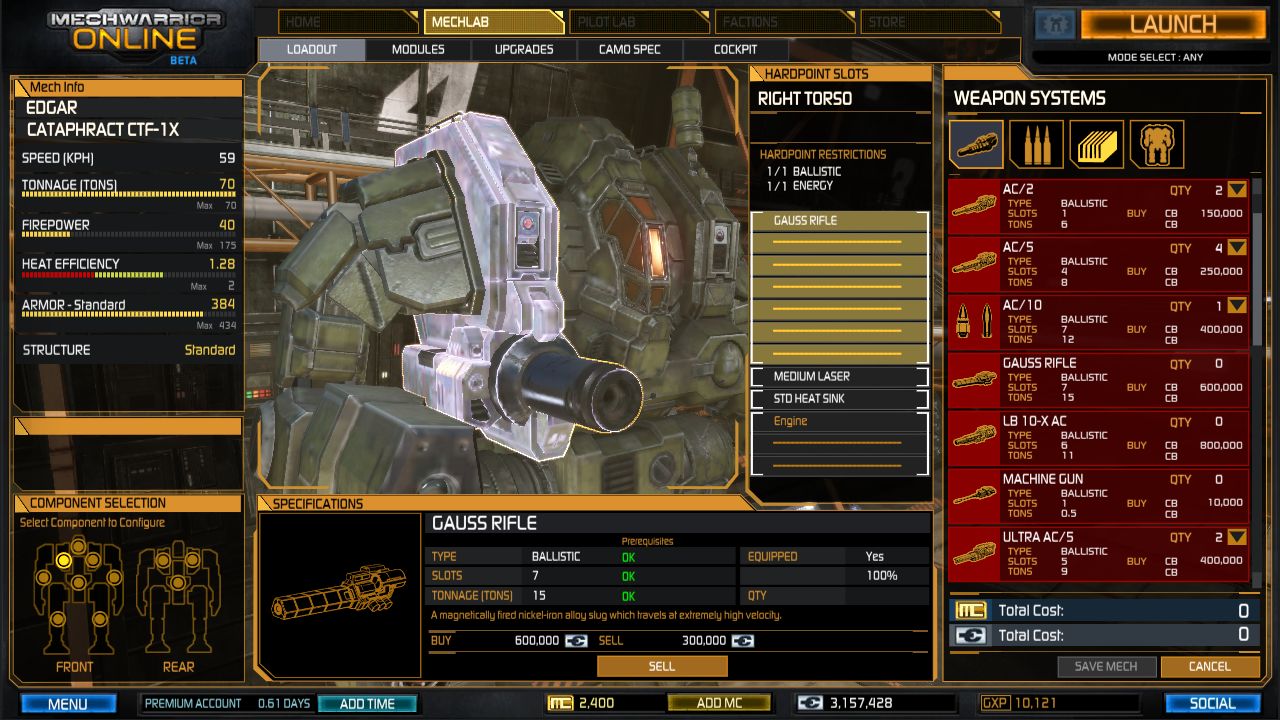
With the latest patch from November 20th a new heavy mech has been deployed to the field: the Cataphract! One of the most appealing variants is the CTF-4X due to its four (4(!)) ballistic slots. Now lets see what one can do with this:

The Build:
Cataphract CTF-4X
- Standard Engine 210
- Endo Steel Structure
- Double Heat Sinks (~13)
- Maxed Armor
Armament:
- 4x AC/2 Autocannon
- 2x Medium Laser
- 8x AC/2 ammo (put 4 in legs and 4 in torso protected with CASE)
Playstyle and Tips:
- The ammo is very expensive so try to work with auto 75% rearm (turn auto-ream off and launch into new match).
- Do not brawl first row. If you get caught in a melee fight with an Atlas you will likely lose. Try to stay in the 2nd row or keep at least 200+ distance.
- If you find a Gausspult (Catapult armed with 2x Gauss Rifles) fire at it! The screen shaking from 4x AC/2 will ensure that the Gausscat cannot aim properly and will be rendered useless.
- Only fire your lasers when encountering light mechs or when you have run out of ammo.
- Set weapons to alternating (by pressing BACKSPACE) to maximize fun for yourself and screenshaking for your foes.
- If you find yourself overheating a lot, try to fire in short bursts rather than holding down the trigger.

Get Connected!