 Commando
 Death’s Knell
 Raven
Raven Spider
 Hunchback
 Blackjack
 Centurion
 Yen-Lo-Wang
 Cataphract
 Ilya Muromets
 Jagermech
 Firebrand
 Quickdraw
 Atlas
Atlas Awesome
 Pretty Baby
 Battlemaster
 Highlander
 Stalker
 Misery
 Ballistic Weapons
 Lasers and PPCs
 Short Range Missiles
 Long Range Missiles
-
Do You Play other Games, too?
1 Aug 2014
-
The Best Shadowhawk 2D2 Brawler
13 Nov 2013
-
Competetive Spider 5D Build
7 Nov 2013
-
Shadowhawk 2H (P) Damage Dealer
23 Oct 2013
Category Atlas
Atlas RS/RS(C) Classic Brawler Mini-Guide
![]()
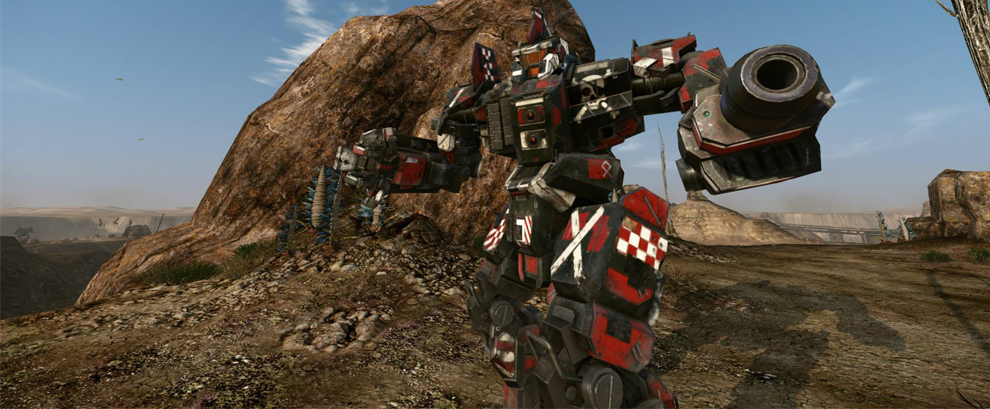
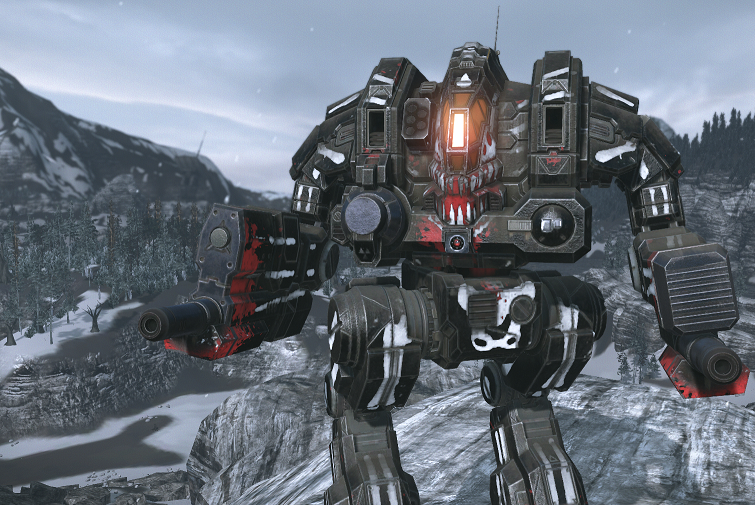
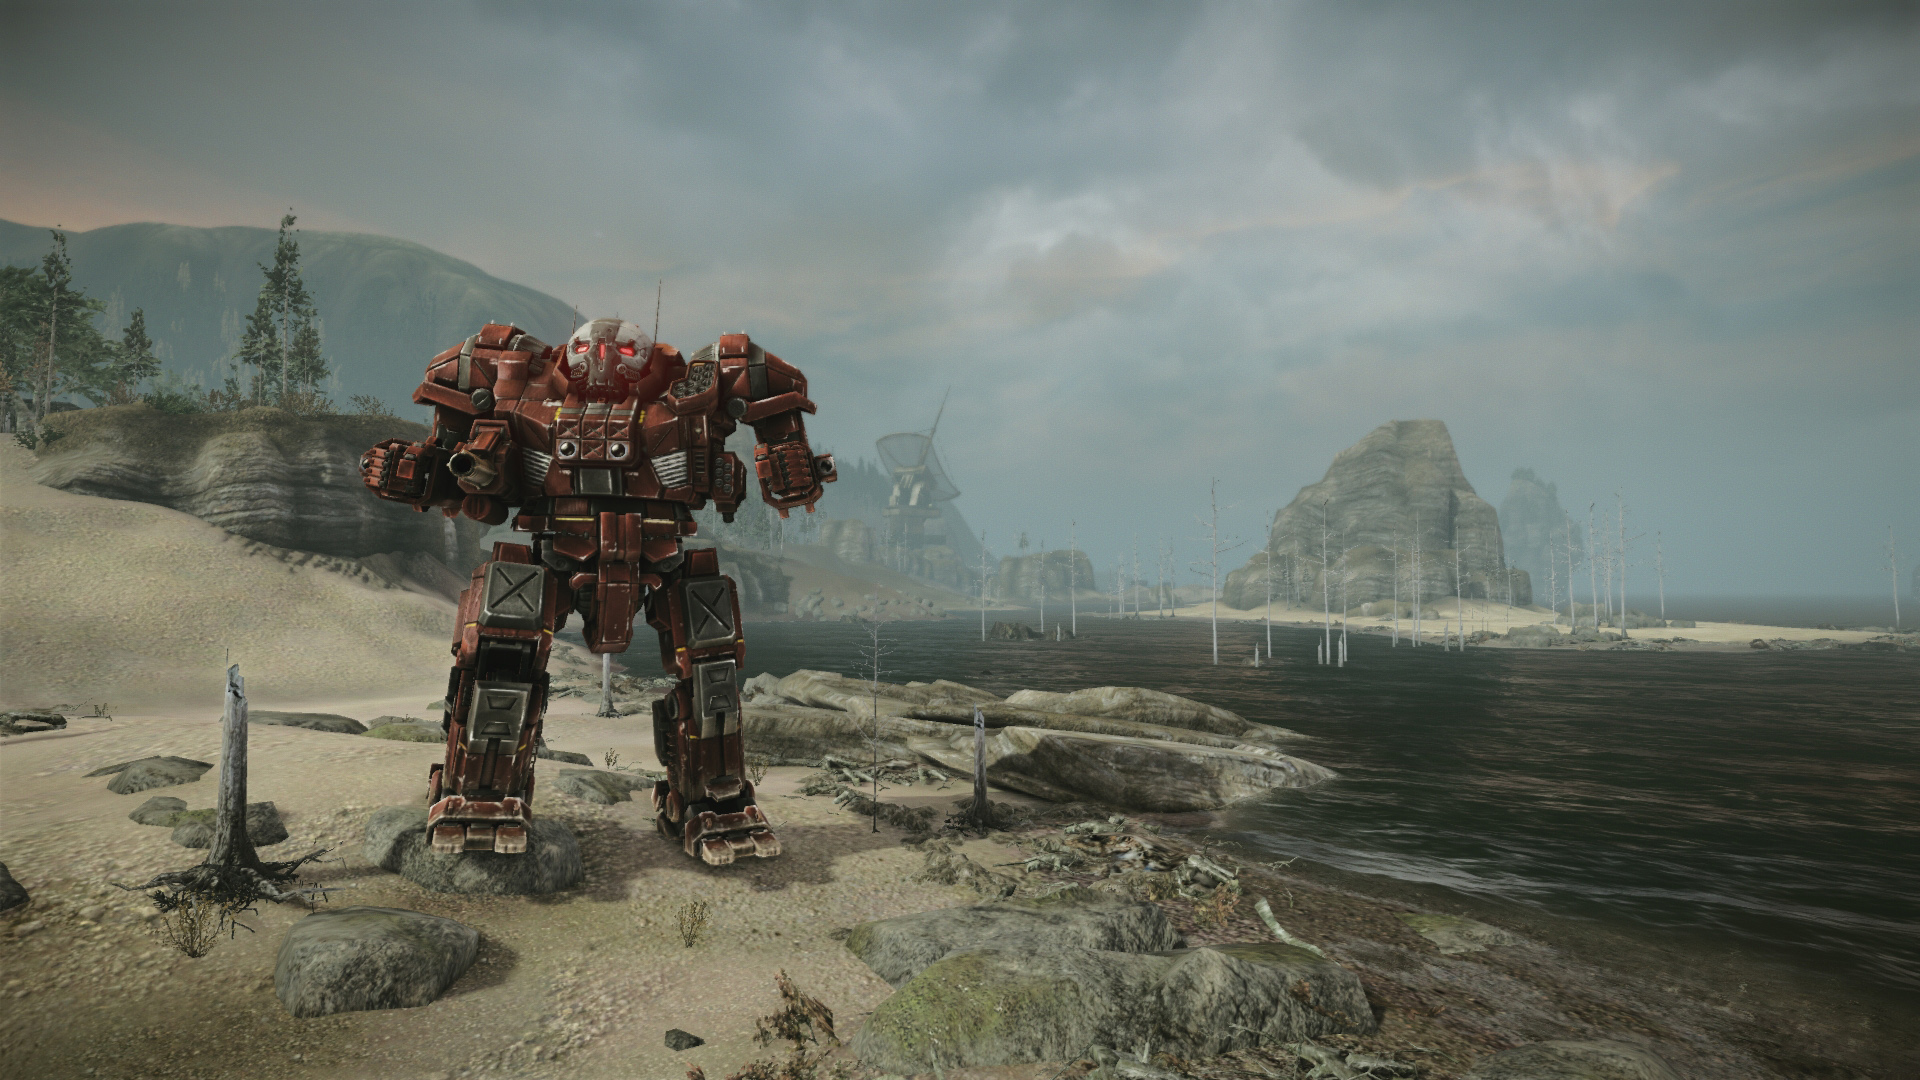
This is just a minimalistic guide to quickly present another guide which is based on a suggestion in the current MWO forum’s build guide thread. If you have an excellent build yourself, post it in there and we will have a look at it! We read through all guides and post the best ones here. This load-out was originally proposed by DiePrimateDie in said thread. It is an Atlas-RS-build with a heavy emphasis on close range damage. Since the AS7-RS and the AS7-RS(C) have the same hardpoints, you can use this load-out on both variants. An AC/20 and two SRM6s make you an excellent brawler. Add to this four Medium Lasers and enough ammo and heat sinks to fire all of this at a constant rate, you can deal a crap-ton of damage at 270m range. If it is within range, it is dead. You alpha strike will rip through enemy Assaults and Heavies in seconds.
![]()
This build works with the RS and the Champion Mech variant RS(C). If you prefer the D-DC, check out this similar Atlas D-DC brawler builds overview.
![]()
- This build is very heat efficient and carries a lot of ammo. Do not fear firing your weapons at all times. However, do not spam aimlessly. Especially the AC/20 hits should be targeted on critical parts of the enemy.
- If you encounter other heavy brawlers, focus fire their center torsos. Turn your upper body sideways, whenever you are not firing. You will be able to down an enemy Atlas without sustaining more than 20% armor.
- Move the larger chunk of your torso armor to the front parts. The stock distribution places too much emphasis on the rear. See the values in the Smurfy-link to get a rough idea of how these numbers should look like. Approximately 20 armor for the rear side torsos is enough. Center torso can even go as far as 100 upfront and 24 in the back.
- Weapon grouping advice: Weapon groups are completely up to you, but the following can serve as a field-proven starting point: 1) AC/20 2) All Medium Lasers 3) Both SRM6s 4) Alpha Strike aka all weapons you have (or bind alpha strike to a more accessible hotkey).
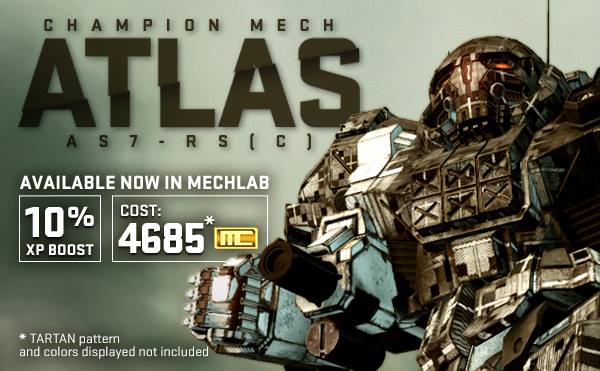
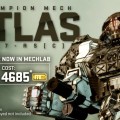
I am not getting any money from PGI for showing their advertisements. I just didn’t find a better RS picture, yet :) However, Champion ‘Mechs are pretty good deals usually (bang for buck wise).
![]()
This build is based on a load-out proposed by DiePrimateDie in the official forums. Thanks again for that one.
Get Connected!
If you know of an excellent build, resource, or guide, submit it and maybe it will be featured on mwo-builds.net and seen by thousands of players. You can submit builds by sending us an e-mail, post it in the official looking-for-builds thread, or send us a private message via the official forums. You can also submit guides and builds via Facebook or Twitter (see below). Join hundreds of other Mechwarrior enthusiasts and like us on Facebook and follow us on Twitter. Receive the latest guides and the best MWO builds directly to your favourite social platform!| Follow @mwobuildsnet |
People who read this guide also read:
How to Build the most efficient Atlas D-DC SRM + AC/20 Brawler Loadouts
![]()
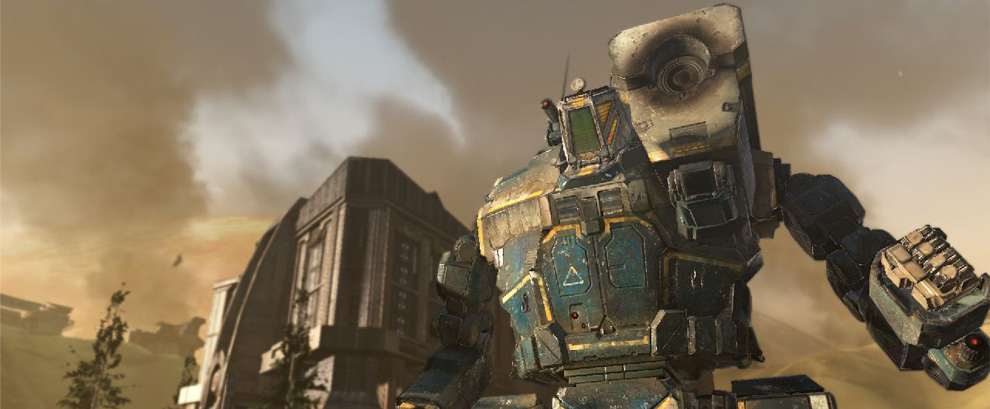
Everybody enjoys the Atlas D-DC. Everybody loves SRMs! Everybody craves for AC/20s. Everybody likes to have an ECM installed. Everybody wants to be on top of the score board. Well, maybe not everybody but most players will admit that most of these things are excellent toys to have fun with in Mechwarrior Online. I have a fair share of Atlas piloting experience myself and tried various builds. I also receive regular input from clan mates and real-life friends who pilot D-DCs themselves.
For a regular full guide, the author would rant on about how you must balance ammo position and tonnage. Armor on legs and engine size, etc etc. Not here. We played Atlas AS7-D-DCs for weeks and have come up with two of the most excellent builds. These builds are focussed on head-on close quarter combat. Long range weapons and PPCs are for sissies. Real pilots bring an AC/20 to the SRM brawl. 100t of death will ensure you eternal glory on the battlefield and the death curses of your enemies in the weeks to come.
![]()
We have come up with two very similar builds. The first one is faster, has more armor and an AMS installed. The second one skips on the defensive part in order to utilise bigger SRMs with more heat sinks. Thus, the second build runs a little bit slower and is more vulnerable, but has a slightly higher alpha strike and more sustained dps. Which of the two builds you’ll use is completely up to you. If you are a new to the game or the assault chassis in general, I personally recommend going with version #1. If you are already an experienced MWO player and know how to play, go with version #2.
Atlas D-DC Build version #1 – More Armor, better engine, and AMS
Atlas D-DC Build version #2 – Higher alpha strike, more sustained DPS.
If you want a more all-round build with more ranged weapons, but still stick with the D-DC and what makes it so strong, check out the Atlas D-DC juggernaut build guide.
![]()
- Your side-torsos are your most vulnerable part. You won’t die if you take some hits, but there is a high chance your most valuable weapons will be critted and destroyed. If you can not shoot, but are being shot at, turn your upper torso sideways. Your arms are sturdy as hell, and you won’t miss them once they are gone.
- If you are engaged in a brawl and running very hot, stop firing the medium lasers. Focus on perfectly hitting your AC/20 shots only. If the heat permits it, continue firing your SRMs.
- Weapon grouping tips: 1) AC/20 2) Medium Lasers 3) SRM6s 4) All weapons. This is one possible way to configure your weapon groups. However, do not bother with chain firing or other combinations. The loadout is pretty straight forward, and you should have these four intuitive groups set for maximum efficiency in hectic situations.
- Do not waste your SRM ammo on light Mechs. You will not hit them enough to make it worthwhile. Instead, use your medium lasers against their legs and fire AC/20 shots in their faces if you are sure you will hit them.
![]()

Get Connected!
If you know of an excellent build, resource, or guide, submit it and maybe it will be featured on mwo-builds.net and seen by thousands of players. You can submit builds by sending us an e-mail, post it in the official looking-for-builds thread, or send us a private message via the official forums. You can also submit guides and builds via Facebook or Twitter (see below). Join hundreds of other Mechwarrior enthusiasts and like us on Facebook and follow us on Twitter. Receive the latest guides and the best MWO builds directly to your favourite social platform!| Follow @mwobuildsnet |
People who read this guide also read:
![]()
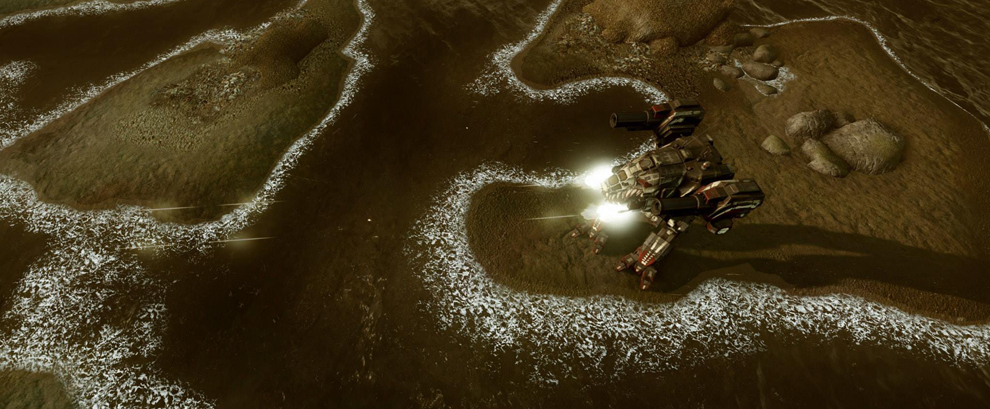
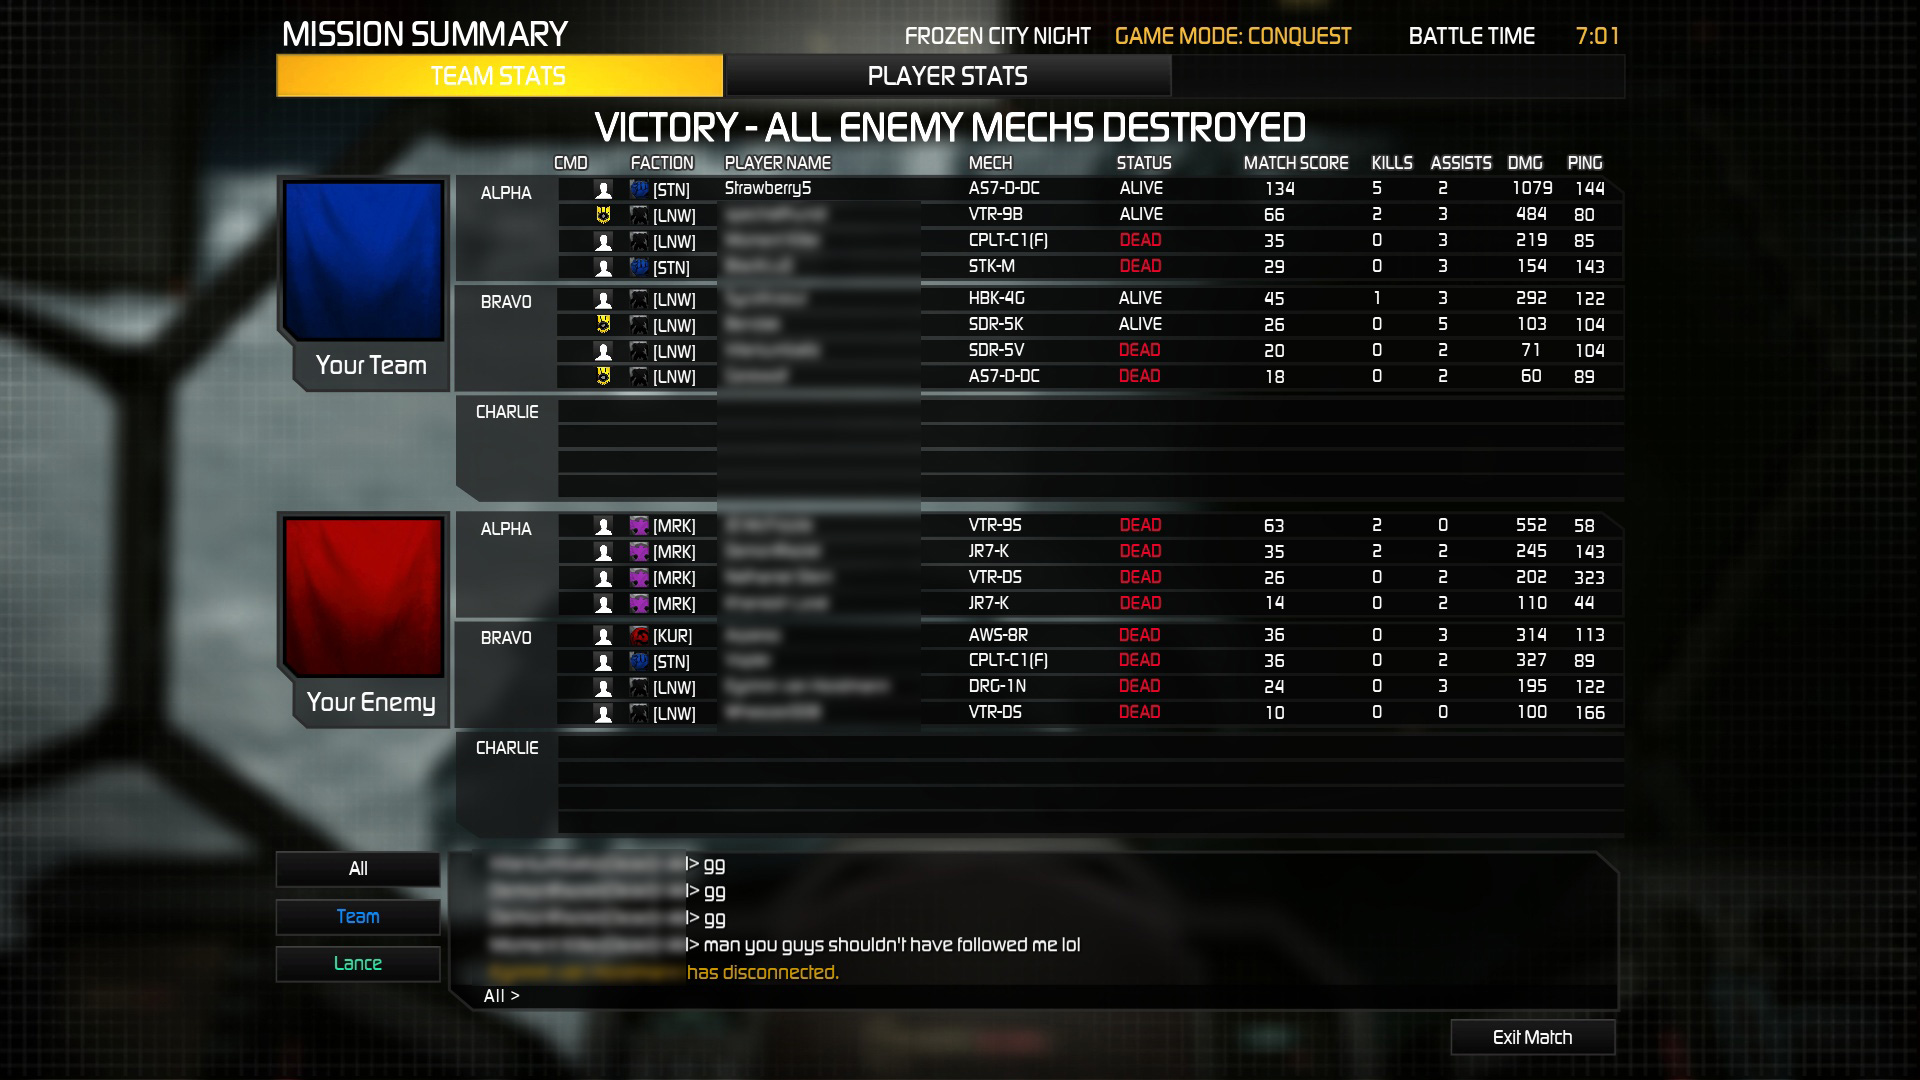
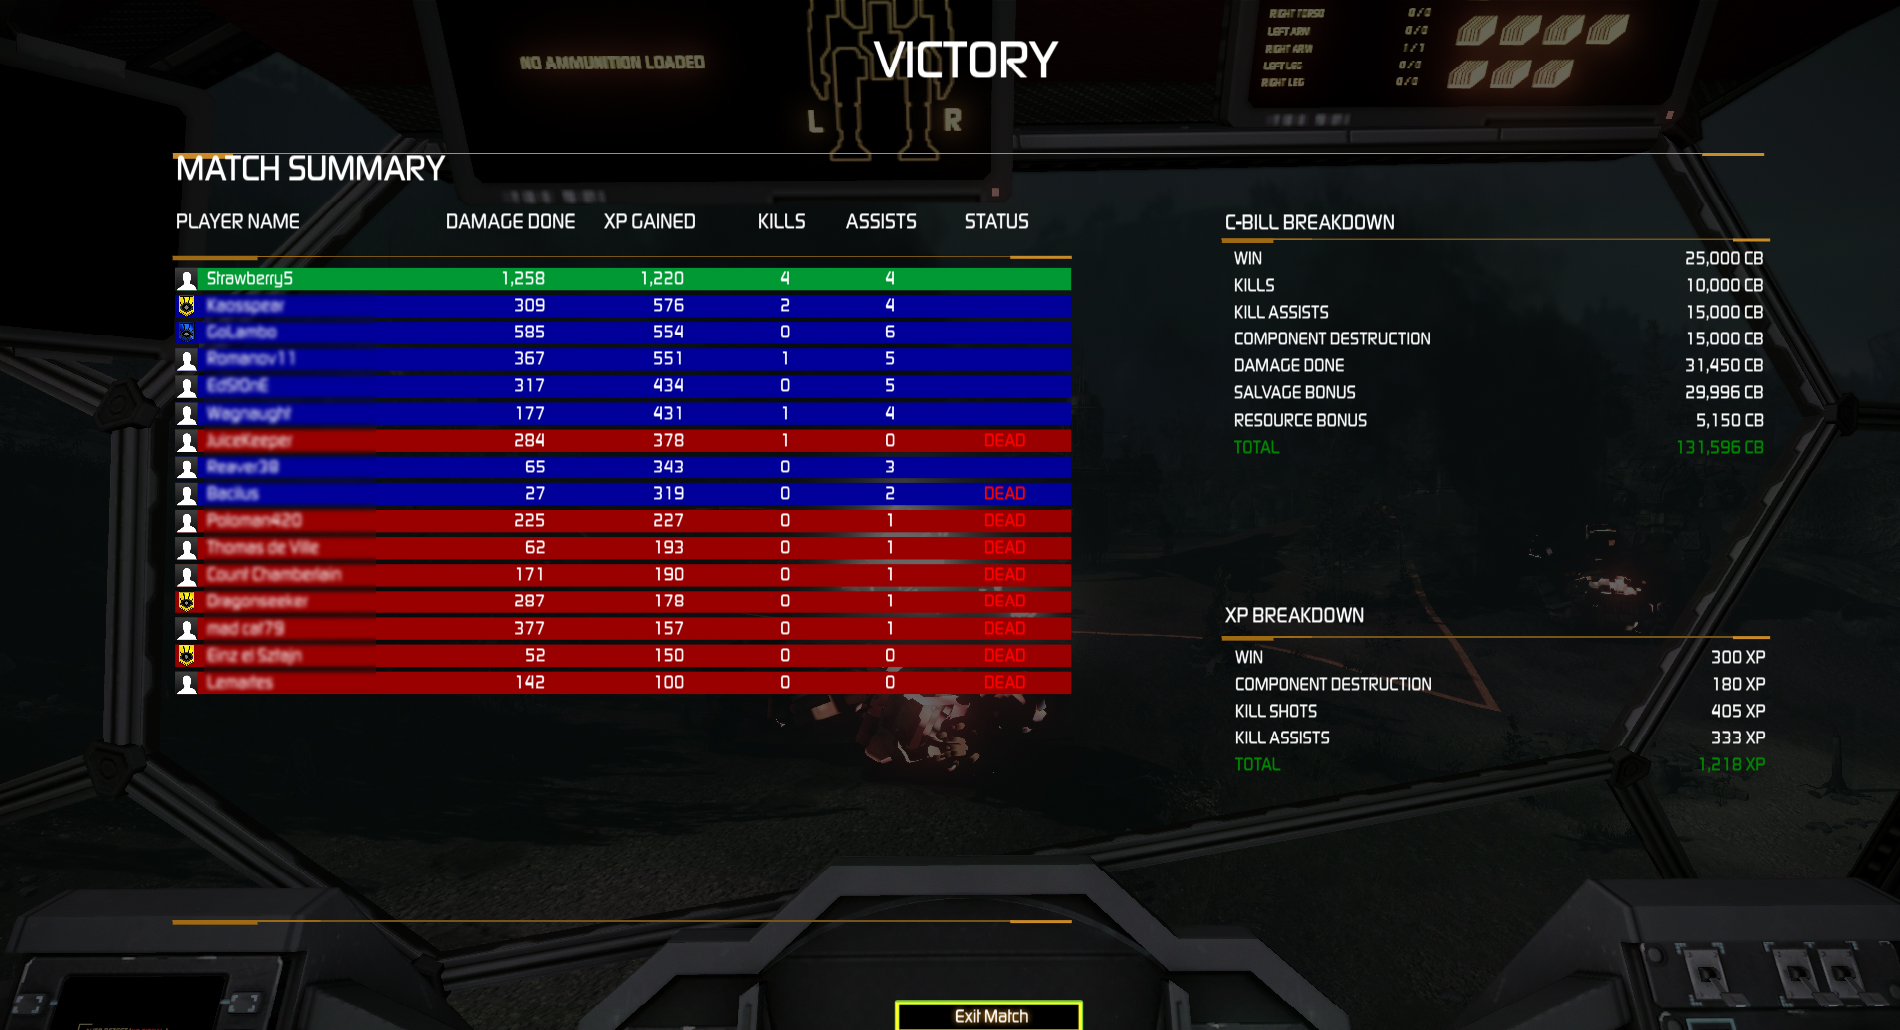
One of the most viewed build on this blog is the Atlas D-DC all-round brawler build by Strawberry5. He and myself have played this build countless times and have proven its worth in PUG games. Mechwarrior Online has evolved since then, and strategies have changed. This Atlas brawler build has been adjusted slightly to better fit 2013 meta-game requirements. If you don’t like PPCs and want to look really good on the score board (damage dealt, kills, match score, etc) give this build a try. You will not be disappointed.
![]()
If you need AMS in this Atlas build, try swapping it for the Beagle Active Probe. Do not remove ammunition in exchange for the AMS since it is already carrying the absolute minimum for extended fights.
In comparison to the old Atlas brawler build, the new version trades the AMS, ammunition and movement speed for range, a BAP and burst damage.
![]()
- Use the high max range of your double Ultra AC/5 to lay down suppressing fire and chip away at enemies during the first minutes of the match. Enemy LRM-boats and other long range builds will duck back behind cover, and potential future enemies will have their starting armor reduced.
- Fire your Ultra AC/5s by single clicking at all times (1.1sec). Restrain yourself from holding down the key as they will most likely jam very fast and your actual damage output will decline. Only gamble on your weapons not jamming when being faced with certain death.
- Keep in mind that your ECM will not protect you from LRM barrages while it is set to counter mode.
- Although you have a BAP, it might be useful to counter an enemy ECM at times. The default hotkey for switching ECM modes is J.
- If you are engaged in an all-out close quarters fight, do not overheat due to alpha striking all the time. It will mean certain death. Instead, refrain from using the lasers and keep using your missiles and ballistic weapons only.
![]()


Get Connected!
If you know of an excellent build, resource, or guide, submit it and maybe it will be featured on mwo-builds.net and seen by thousands of players. You can submit builds by sending us an e-mail, post it in the official looking-for-builds thread, or send us a private message via the official forums. You can also submit guides and builds via Facebook or Twitter (see below). Join hundreds of other Mechwarrior enthusiasts and like us on Facebook and follow us on Twitter. Receive the latest guides and the best MWO builds directly to your favourite social platform!| Follow @mwobuildsnet |
People who read this guide also read:


One of my best friends, Strawberry5, has great success with an Atlas Brawler build, almost always topping the scoreboard and blowing scrubs to bits and pieces. This guide is the result of hours of grinding and experimenting and represents the, in my opinion, currently best load-out if you want to go toe to toe with your foes as an Atlas pilot. Be sure to drop by his profile and leave him a thumbs-up (link at the end of the guide).
![]()
![]()
![]()
![]()
![]()
![]()
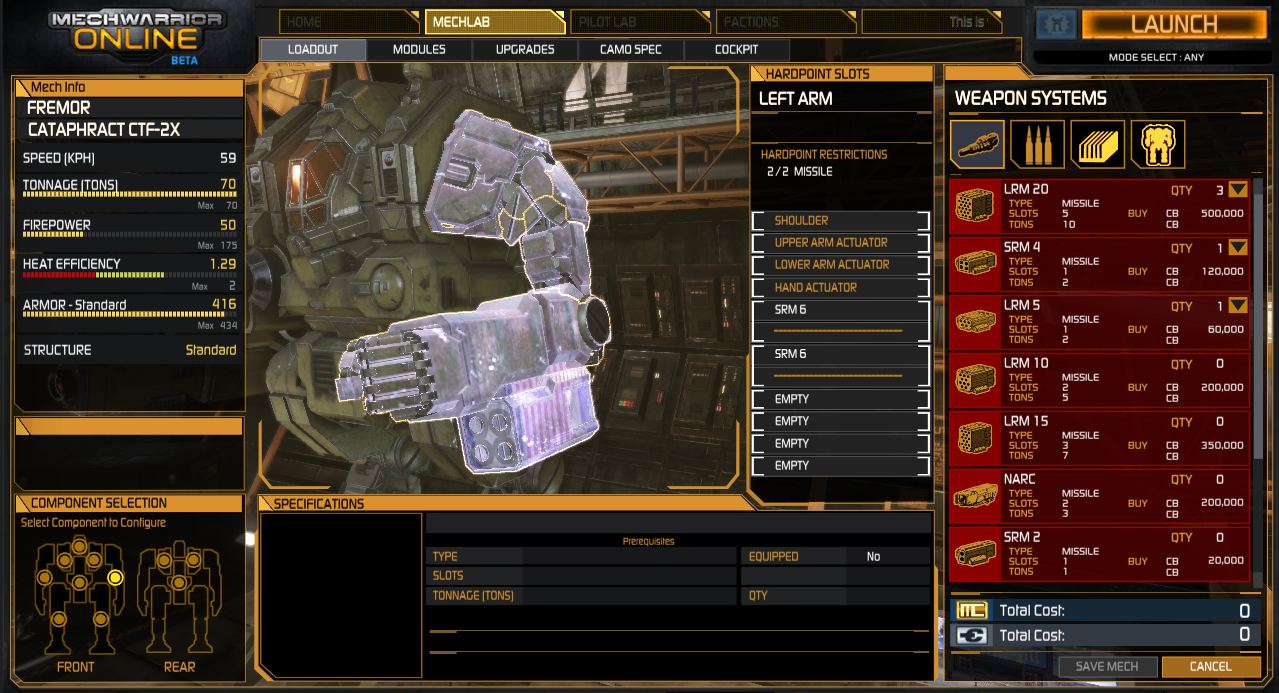
- Atlas AS7-D-DC
- Standard Engine 350
- Max armor on all torso partitions, reduce both legs to ~41 and both arms to ~52
![]()
- 2x UltraAC/5 (7x ammo)
- 2x Medium Laser
- 3x StreakSRM2 (3x ammo)
- 1x C.A.S.E. (3x SSRM2 ammo and 2x UAC/5 ammo in left torso)
- Anti-Missile System (1x ammo)
- Guardian ECM (place in right leg to avoid early destruction)
![]()
- Always move at max speed (>62kph with upgrades) if possible. This will make your worst enemies (SRM6s, AC/20s, Gauss Rifles) miss your mech more often.
- Use the high max range of your double UltraAC/5 to lay down suppressing fire and chip away at enemies during the first minutes of the match. Enemy LRM-boats and other long range builds will duck back behind cover and potential future enemies will have their starting armor reduced.
- Always try to entangle your enemies in close quarters combat as soon as possible. You are one of the most fearsome brawlers on the battlefield; make your enemies brawl as well whether they want to or not.
- Fire your UltraAC/5s by single clicking at all times (1.1sec). Restrain yourself from holding down the key as they will most likely jam very fast and your actual damage output will decline. Only gamble on your weapons not jamming when being faced with certain death.
- If your ECM gets blocked (mostly by light mechs), switch to counter (hotkey J). Afterwards, find the ECM bearing mech and dispose of it with your triple SSRM2s and lasers.
- Keep in mind that your ECM will not protect you from LRM barrages while it is set to counter mode.

![]()
People who read this guide also read:
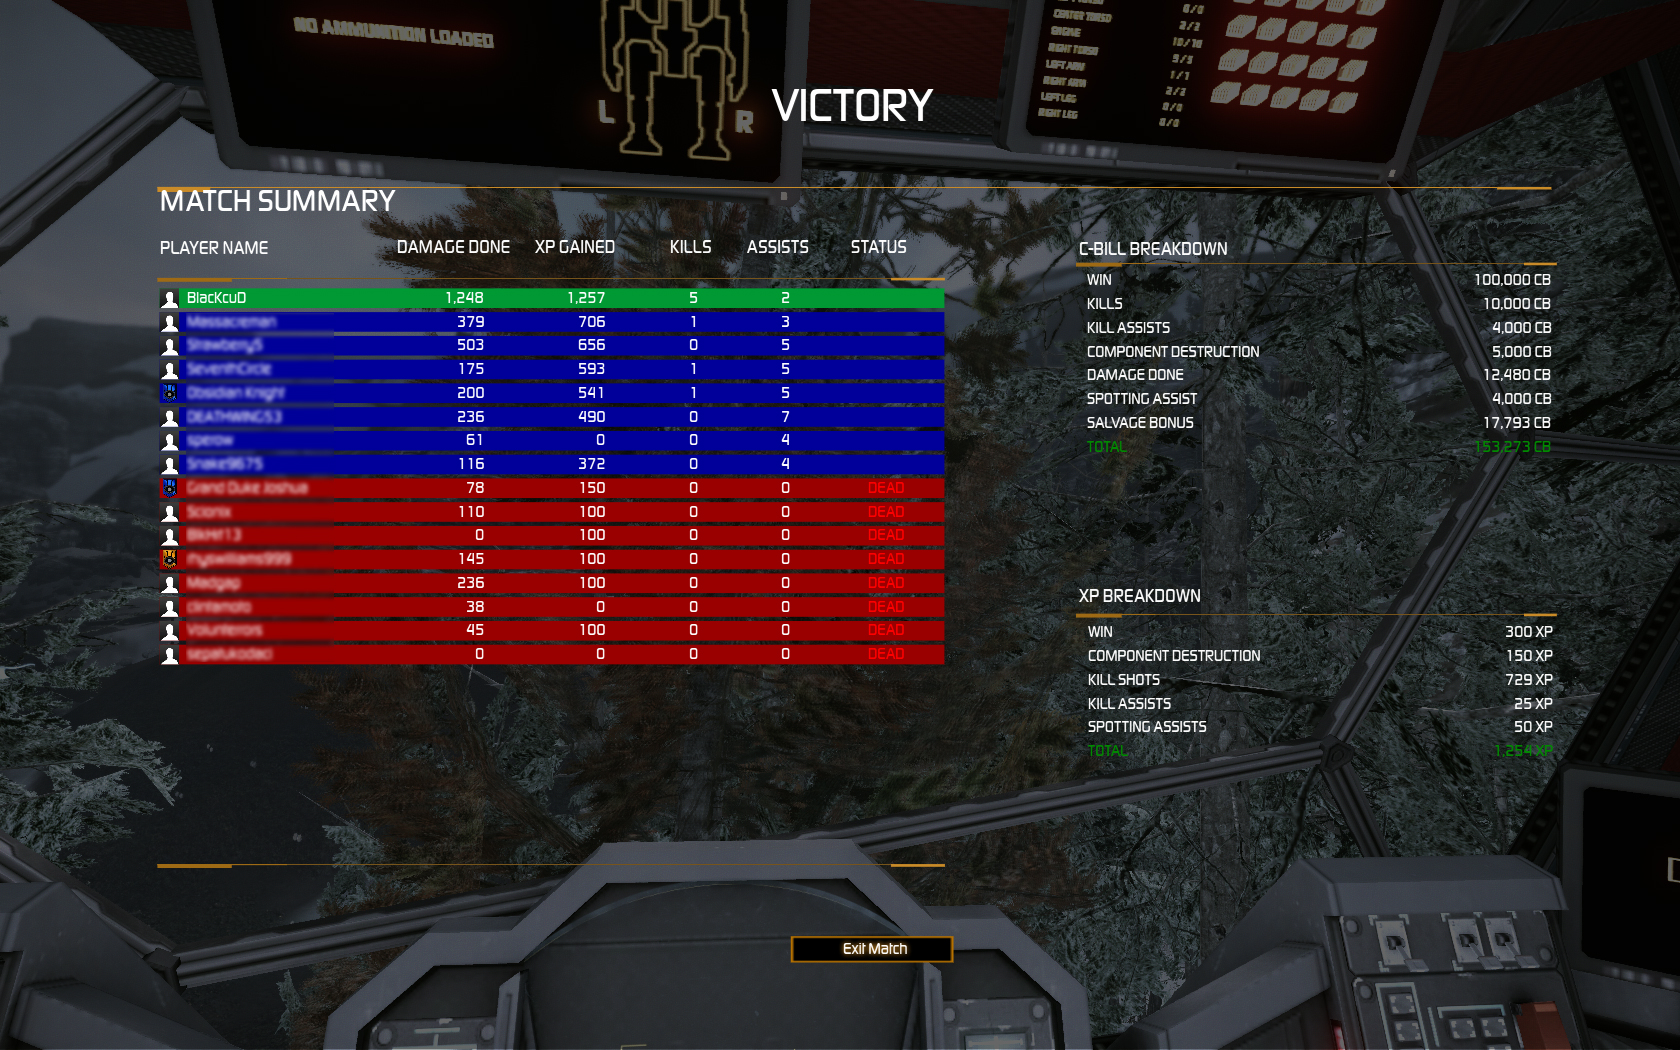
Find Catapults a little lame? Already bought an Atlas and you don´t know how to effectively get XP and CBills with it? Want to be top3 of the scoreboard for 10 rounds in a row? Look no further. The Atlas Deluxe LRM Boat will make this all happen.
Atlas LRM Boat Setup (updated)
![]()
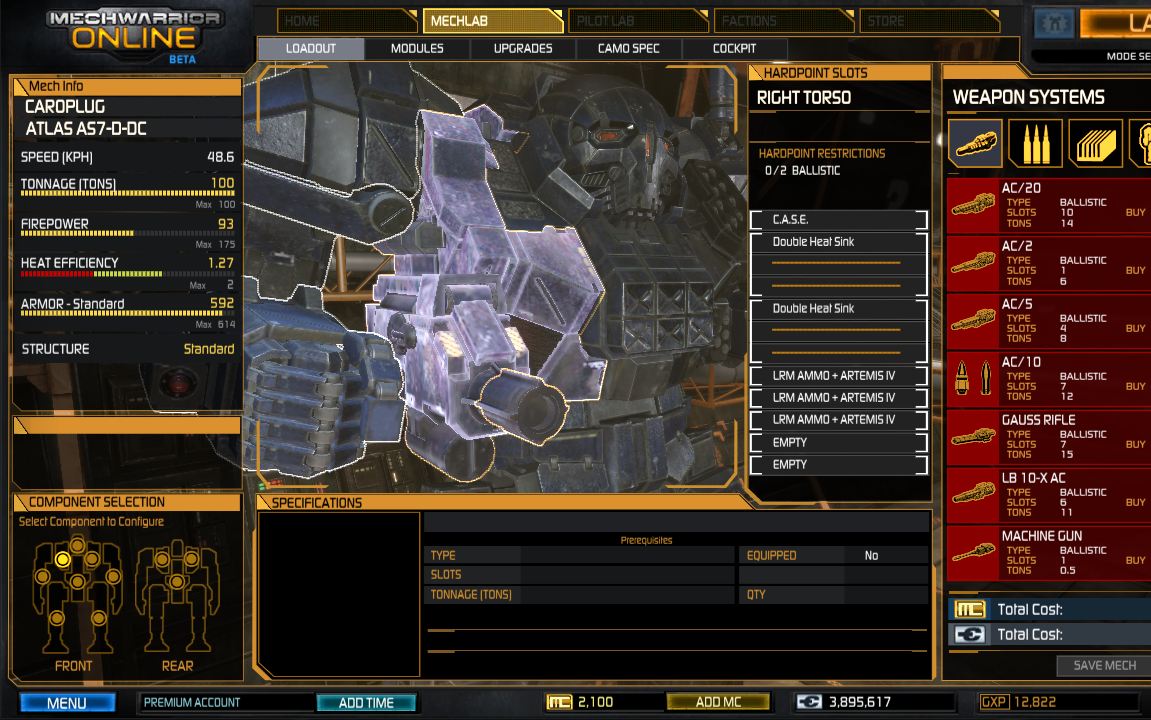
- Atlas AS-D-DC
- Standard Engine 300
- Maxed Armor (except legs, ~73 each)
![]()
- 3x LRM15+Artemis (9x ammo)
- 2x Medium Pulse Lasers
- CASE in right torso along side 2 DHS and 3x LRM Ammo
- Guardian ECM (mount in legs to avoid early destruction)
- AMS (1x ammo)
- Fill remaining slots with DHSs such that you will have 16 (with engine heat sinks) in total
![]()
- Artemis requires line of sight. Your ideal position will be ~500-800 meters away from the target and ideally within line of sight (e.g. river bank)
- You are worthless in melee (LRMs have a minimum range of 180). If you don´t know what to do, fall back to your nearest friendly.
- Conserve ammo by not overnuking low health enemies and only firing if you are absolutely sure the target will be locked for some more seconds.
- If you get jammed by an ECM, don´t panic. Switch your ECM to counter (hotkey J) and continue firing LRMs. If no target is available for LRM fire switch to your Medium Pulse Lasers and engage whatever is jamming you, while constantly falling back to friendlies who can help you get rid of the pest.
- If none in your lance can provide TAG, experiment with switching one Laser for it.
- Add more armor than usual to your rear. If you are getting pounded, it will most likely be from behind.
Atlas LRM Boat
Get Connected!